• Administrator
  •  
    Before your membership becomes valid, you will receive an email that must be answered.
    Please check your spam folder or this email.
     

1/4 scale T-21 CW

Let us all watch your new project progress.
User avatar
SedB
Posts: 98
Joined: 14 Nov 2019, 09:17
Location: Netherlands

Re: 1/4 scale T-21 CW

Post by SedB »

Horizontal stabiliser section is as good as done;

Image

Image

This thing is quit big! Joining these two pieces I say there was a bit of room left which I filled with pva and sawdust.

Image

Image
User avatar
SedB
Posts: 98
Joined: 14 Nov 2019, 09:17
Location: Netherlands

Re: 1/4 scale T-21 CW

Post by SedB »

Since it's terrible weather for the last couple of days (either to wet, to windy or both), I spend some time on the T-21.

Image

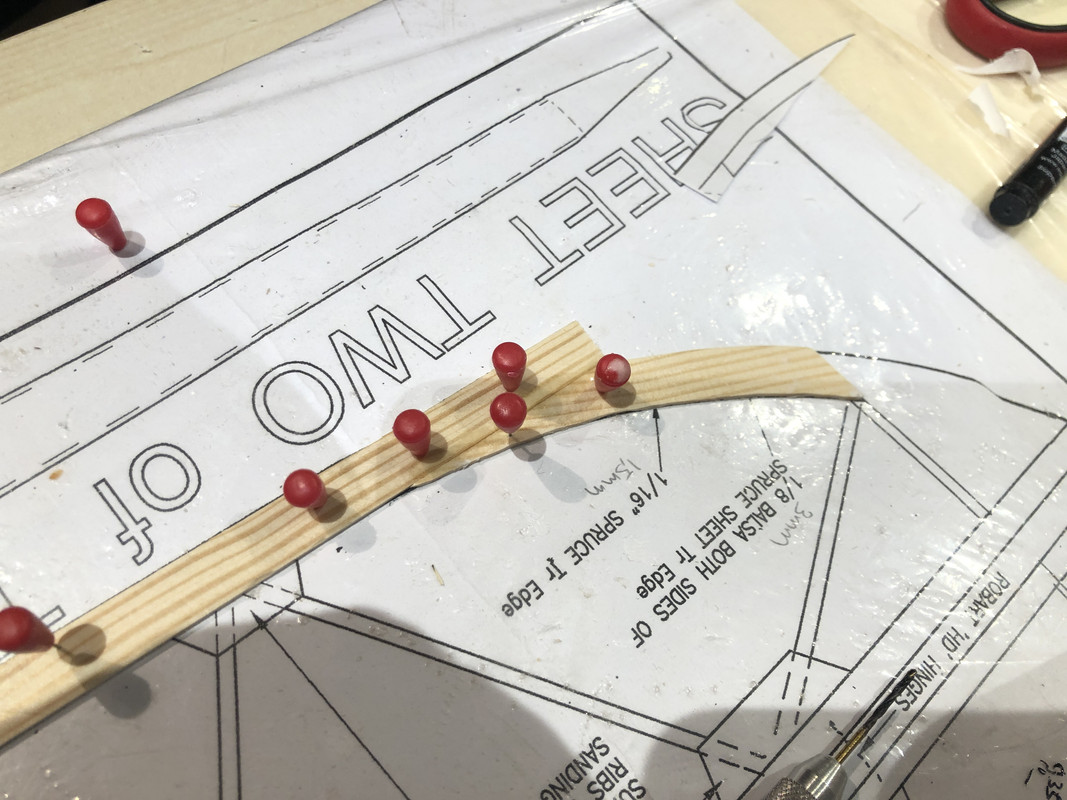
The wood here was to wide to bend, eve after letting it swim in my pond for a couple of hours. Easiest solution seemed to make the trailing edge out of two pieces.

Image

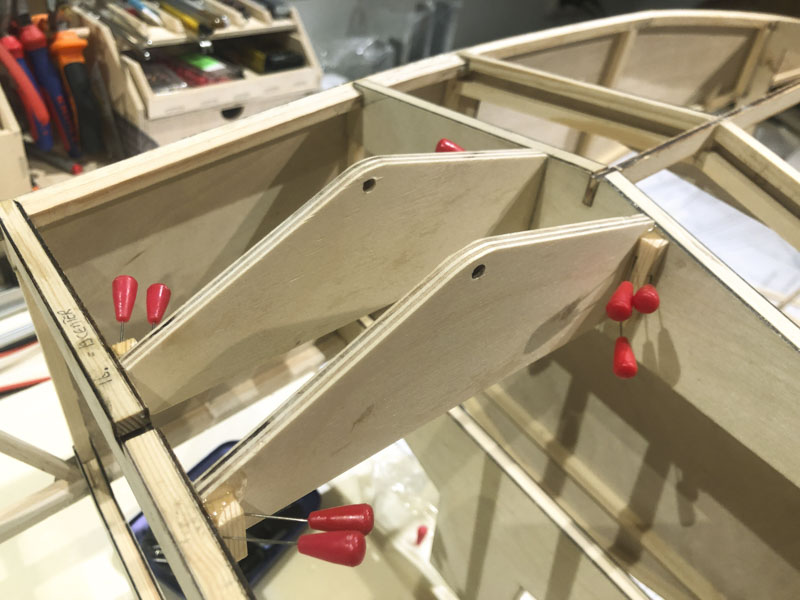
Lining thing up before grabbing glue

Image

Image

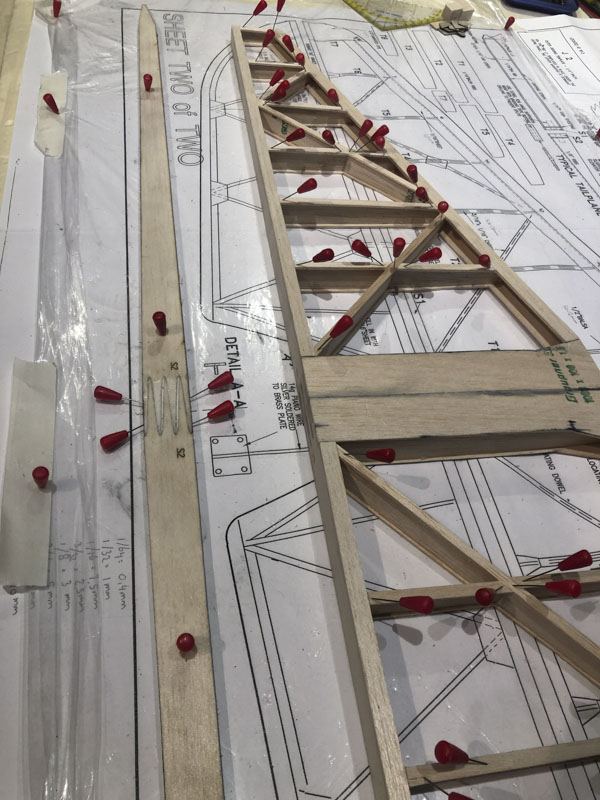
Making the ribs for the elevator is quit easy. I cut them from both side though so I do not have to sand them in shape later on.

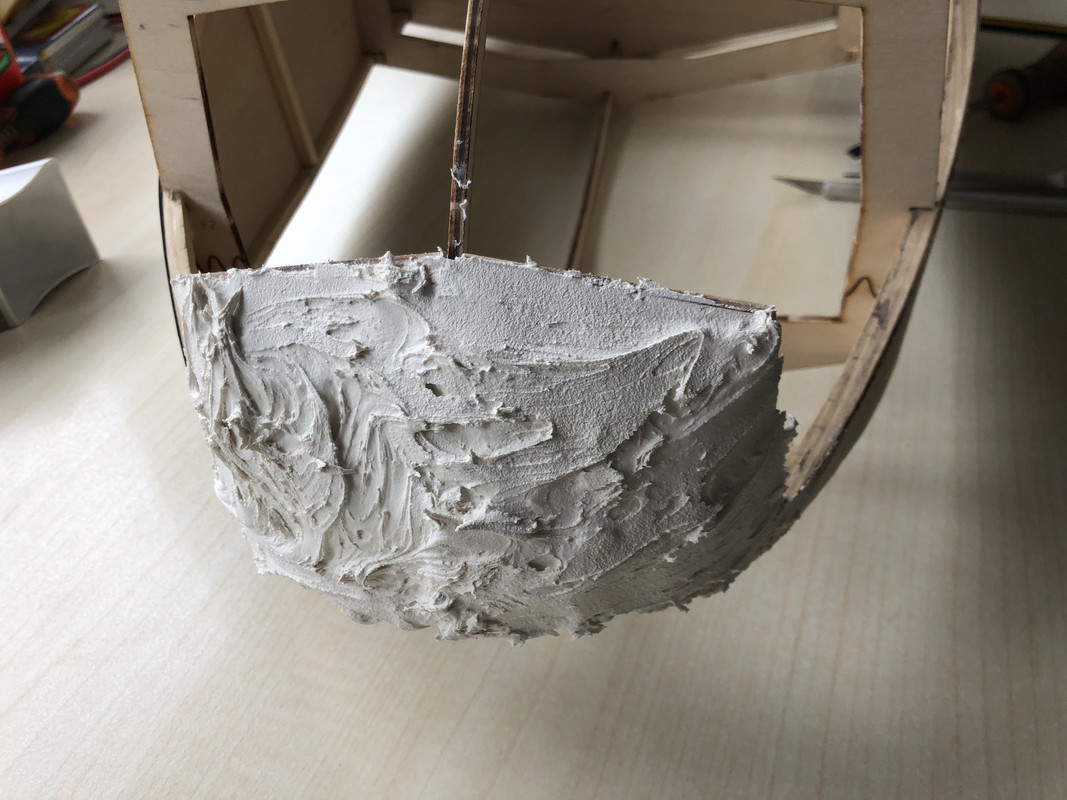
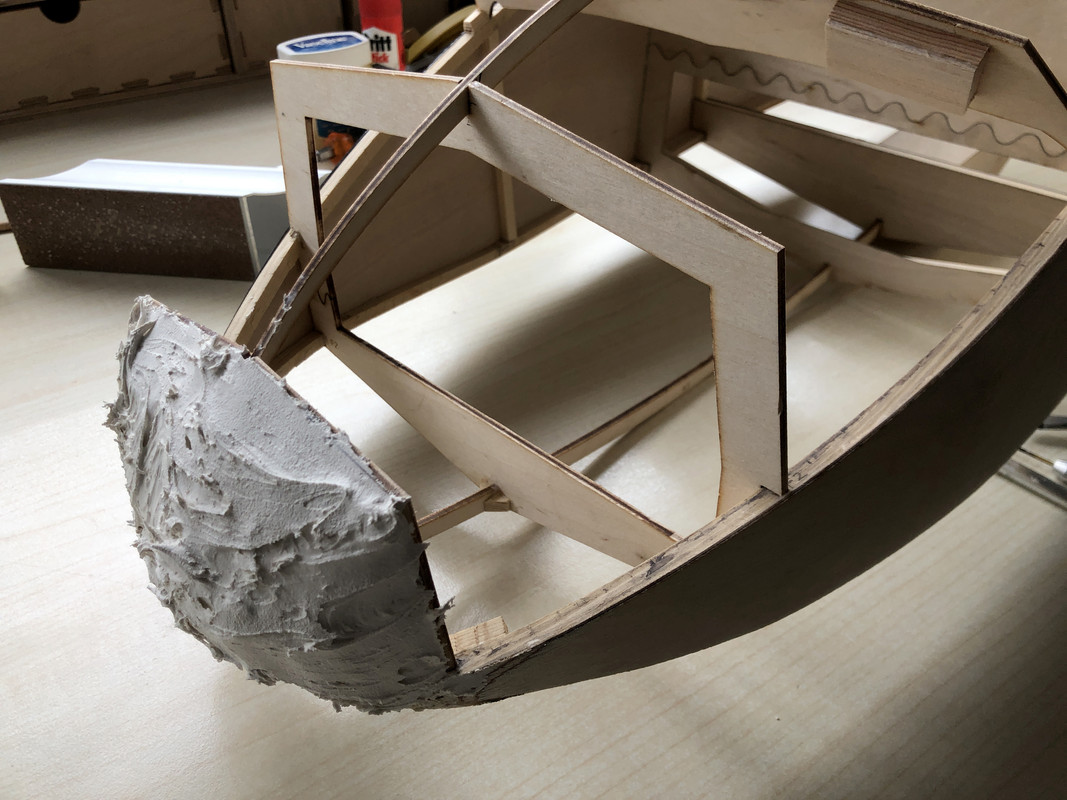
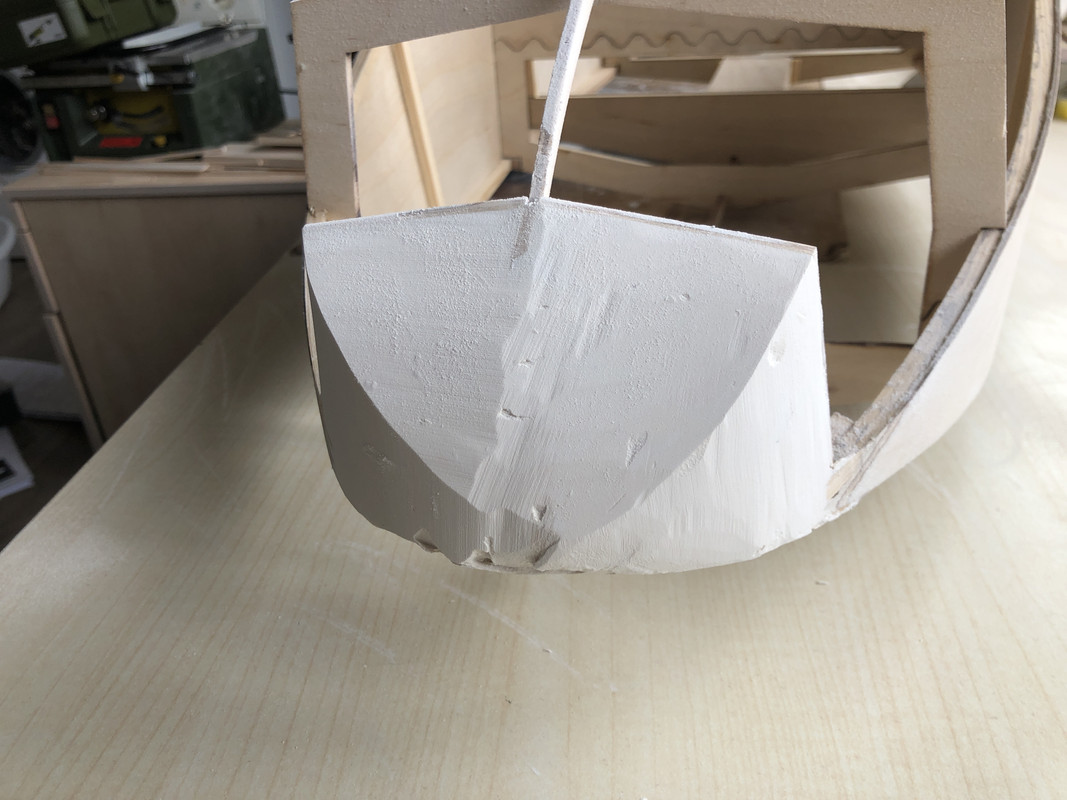
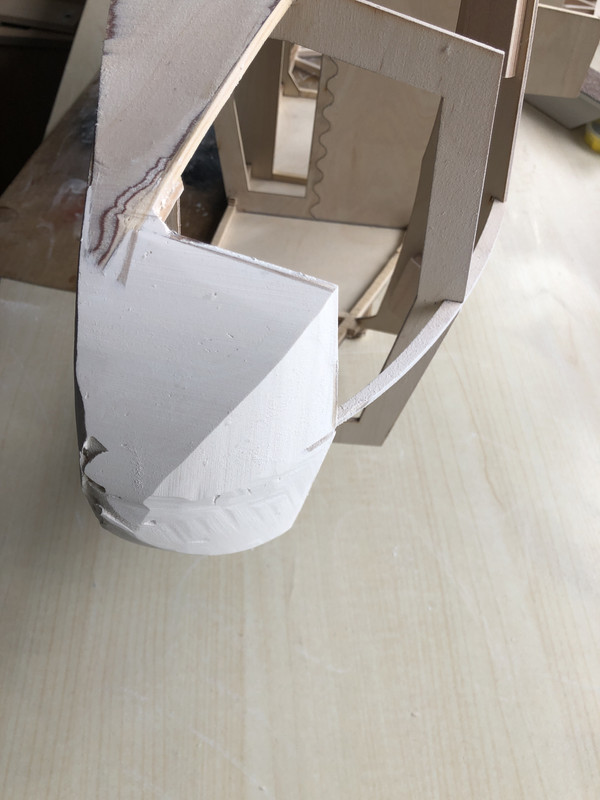
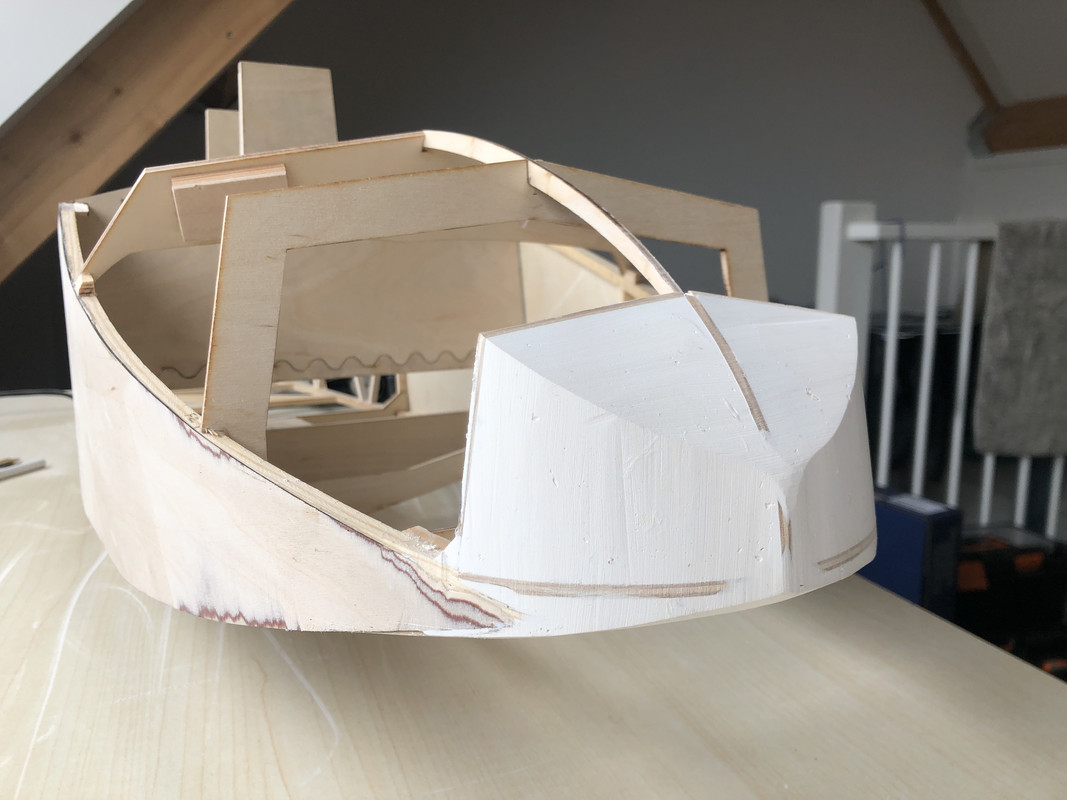
Meanwhile I started to play with some filler. Not to difficult too, though had to do this in 2 stages since the sticky stuff would not stay in place..

Image

Image

For the experts I do have a question though.
This glider has a tail skid. What do you nowadays use to make this skid?
The drawing mentions feeler gauge, though I wonder whether there is an alternative?
I tried to make an example out of duralumin, but this stuff is to weak. Steel sheet (I tried .75mm) is to weak too. I think what I need is something like piano wire, though is this material available also in sheets (only can find rods)?
User avatar
chris williams
Posts: 1544
Joined: 10 Mar 2015, 10:50
Location: Blandford Dorset

Re: 1/4 scale T-21 CW

Post by chris williams »

I'm not surprised you couldn't bend the spruce...! (The join is shown on the plan) The filler usually takes three or four applications, but you really need to finish the sheeting first, before you apply any more. I'm pretty sure I remember finding a thick enough feeler gauge to do the job at the time...
Attachments
02170012.jpg
User avatar
Cliff Evans
Posts: 1029
Joined: 29 Dec 2019, 15:13
Location: Bristol
Contact:

Re: 1/4 scale T-21 CW

Post by Cliff Evans »

I used a feeler gauge on my 1/4 and 1/3.5.
https://lasercutsailplanes.co.uk
https://patteaklegliders.co.uk
User avatar
Peter Balcombe
Posts: 1399
Joined: 18 Mar 2015, 10:13
Location: Clevedon, North Somerset, U.K.

Re: 1/4 scale T-21 CW

Post by Peter Balcombe »

SedB,
Are you sure you do not have a car spares or car accessories shop nearby in the Netherlands?
The feeler gauges are simple sets of accurate thickness (not that this matters here) small strips of tempered spring steel of several different thickness.
(They are used to check car engine valve, or other clearance gaps)
You just choose the strip thickness you want & remove that piece from the set - then shape as required or use the standard strip shape.
Alternatively, you could buy some strip spring steel (usually comes annealed/soft), shape & drill, but then you have to heat treat the steel to harden & temper before use in order for it to be springy.
Attachments
F87B200B-8E92-45EE-9BE2-D5FF15EE6EBB.jpeg
User avatar
SedB
Posts: 98
Joined: 14 Nov 2019, 09:17
Location: Netherlands

Re: 1/4 scale T-21 CW

Post by SedB »

You are right Chris, wrong text with photo. Indeed the trailing edge is made exactly as on the plan.

OK, so feeler gauge it is :D I really thought these were things from the past, but old does not mean obsolete :oops:
Now I think about it; an old saw blade might come handy for future use.

Thanks a lot gents!
StephenB
Posts: 187
Joined: 26 Dec 2018, 08:45
Location: Hungary

Re: 1/4 scale T-21 CW

Post by StephenB »

I went through all this Sed when trying to fabricate a tailskid for my Fauvette.

Whilst I didn't try the feeler gauge trick, I did attempt it with an old saw blade. The problem is that spring steel snaps if you try to bend it, it has to be tempered/annealed to allow forming - Peter Balcombe would give you good advice on this process. In the end I abandoned the idea and formed my tailskid from piano wire bent to a suitable shape and covered it with black heatshrink which gave the correct appearance. It worked for me on a 1/5 scale model and is functional but you may wish for something more scale like on your larger scale T-21.
User avatar
SedB
Posts: 98
Joined: 14 Nov 2019, 09:17
Location: Netherlands

Re: 1/4 scale T-21 CW

Post by SedB »

Thank you!
Sean Fitzgibbon
Posts: 66
Joined: 11 Oct 2017, 18:53
Location: Mitcheldean

Re: 1/4 scale T-21 CW

Post by Sean Fitzgibbon »

Hi mate,
just wondering how your build is progressing?
We started at roughly the same time, but I then did no building or flying for around some six months but I did keep checking in on your thread.
Now that I have got back in the workshop and have managed to invest some time in it, my T21 is starting to take shape and I found it quite interesting that we were finding the same little issues.
Looking forward to seeing more pictures from you soon, thanks for sharing so far.
Sean.
User avatar
SedB
Posts: 98
Joined: 14 Nov 2019, 09:17
Location: Netherlands

Re: 1/4 scale T-21 CW

Post by SedB »

It's been a while since I posted any updates here. This is mainly because I did a lot of flying and little building during the summer. And the bits I built, seemed not to be that significant. Though, now I find my self having one wing ready for covering and the other is halfway build. So, time I post some pictures here!

First I started sanding the nose by hand, which was not such a succes..

Image

Then I started to use a small bandsaw, which made life easy (well, not the breathing part, dust was found literally every where!!) :(

Image

Image

In the nose I put an extra piece of wood (cross outline of the nose) which gave me a good reference while sanding the nose to shape.

Time for some more sheet work:

Image

I'm not sure how else to hold the sheet in place than using pins. These pins are made for balsa, so I keep breaking them while forcing them into the ply.

Starts to look like a glider now :P :

https://i.postimg.cc/k4V4rdR0/DObers_Sedbergh_0050.jpg

More to follow..
Post Reply