Page 1 of 6
1/4 scale T-21 CW
Posted: 15 Jan 2020, 22:13
by SedB
Hi all,
Here's a tread bout my very first build ever, so how much scale this Sedbergh is going to be...!? Anyways, the kit is from Chris Williams, and since I haven't found a tread on a completed T-21 in 1/4th scale, I am using 2 treads as guide. These treads are of the same kit but 1/3.5th scale:
http://forum.scalesoaring.com/forum/aer ... ams-design
http://www.retroplane.net/forum/viewtop ... sc&start=0
Chris Williams has already been of great help, thanks for that!
Since I live on the metric side of the Channel, some stuff will not be a 100% fit to the plan, though with the conversion table I'm using I should(...) be OK.
First thing I had to do was to wait for these:
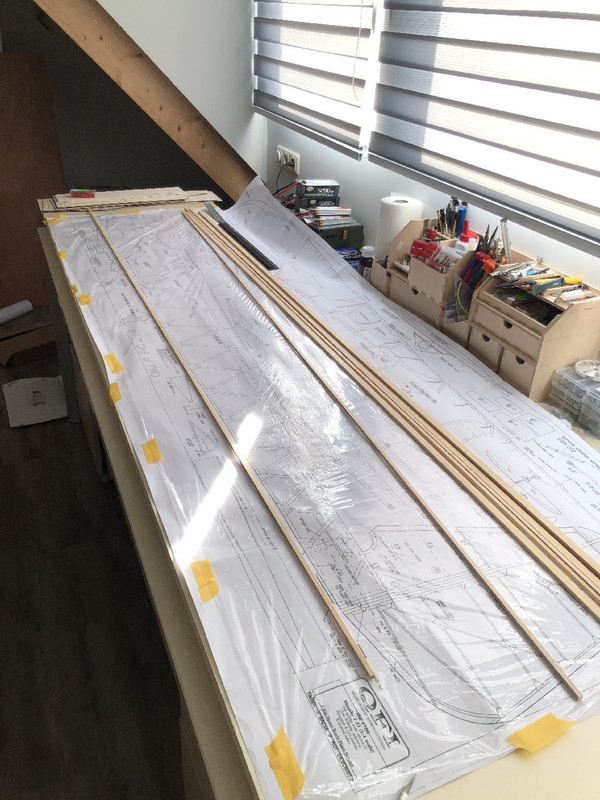
6xx6x2000mm longerons, these are none standard size so they had to be ordered.
And off I went:
This might be the easiest part of the build, pretty straight forward.
First errors already made, some of the skin plates are the wrong way around. Not a biggy, but need to pay more attention in the future!
That's it for now.
Even though this build is not as high standard as most builds here, I hope it's a welcome tread. Feel free to comment!
Daniel
Re: 1/4 scale T-21 CW
Posted: 18 Jan 2020, 23:47
by SedB
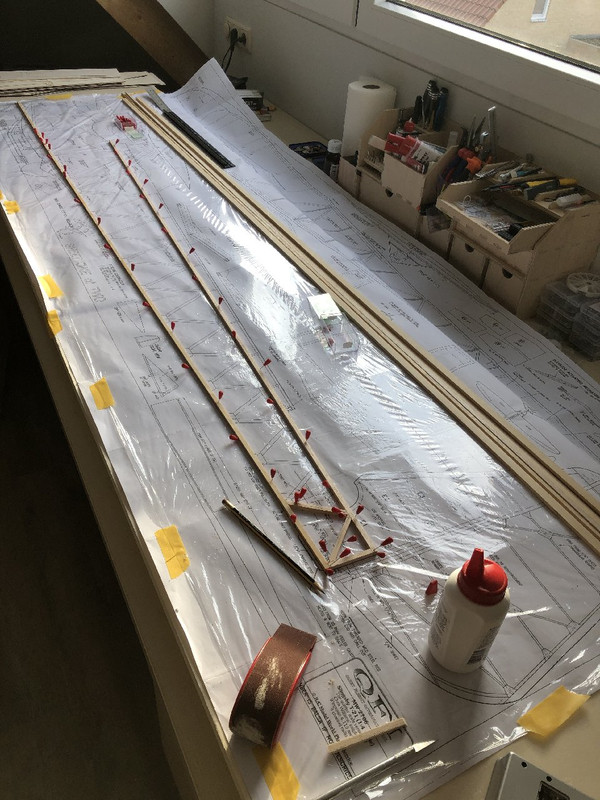
Once the sides were ready, they could be lifted and stuff stared to take shape;
The double longerongs are glued in place with the side standing straight up, guess I could just have flipped the sides without having to pin them to the table..
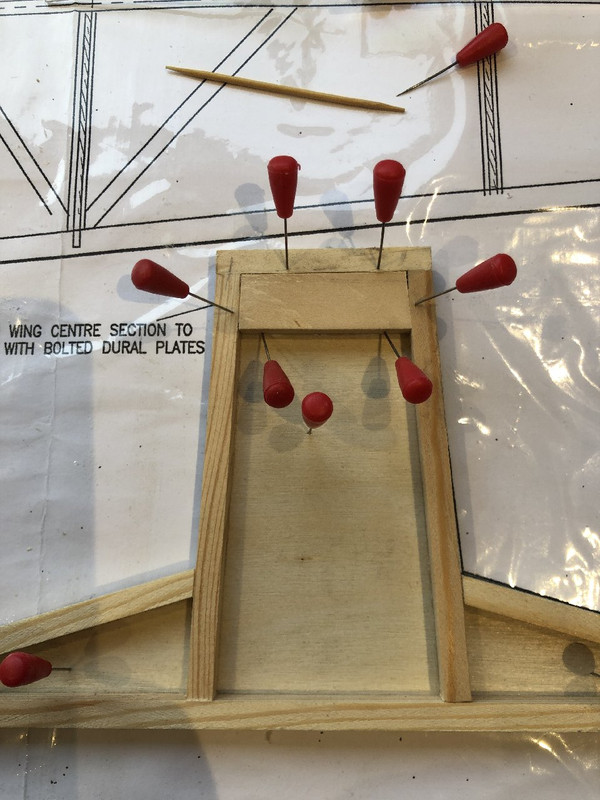
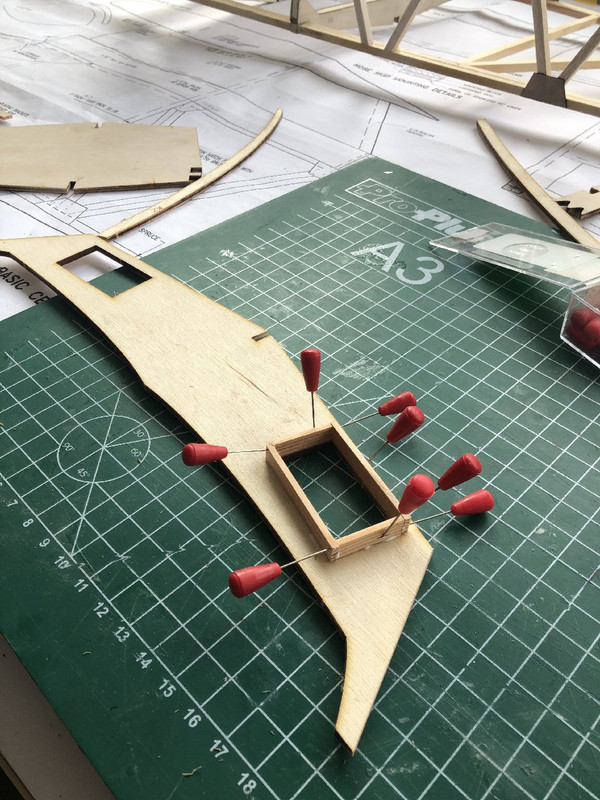
Parts F4, F5 and F6 are the main parts of the whole frame. The kit provides the ply plating for these, though the the actual structure has to be build

The ply top part of both F5 and F6 are not a perfect match with the drawing. I hope I got it all straight, otherwise I might run if to issues much later..
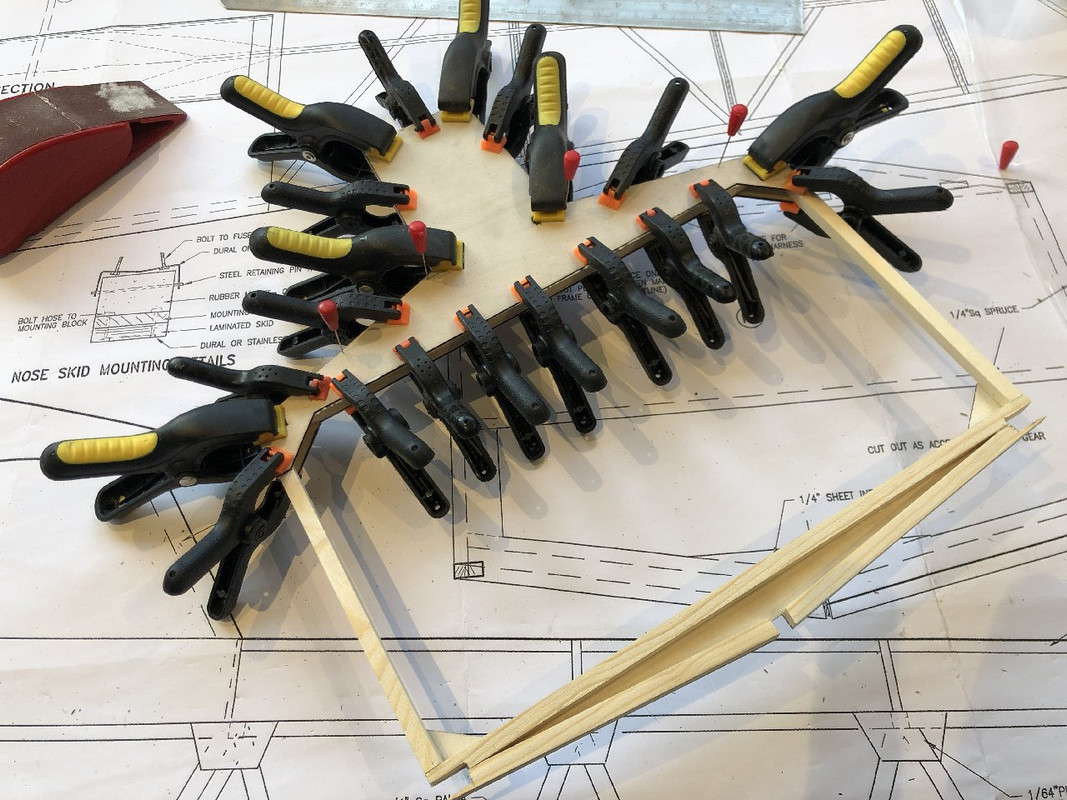
Am I overdoing it with the clamps?

Re: 1/4 scale T-21 CW
Posted: 19 Jan 2020, 09:09
by Cliff Evans
Looking good. Keep the tail end as light as you can.
Re: 1/4 scale T-21 CW
Posted: 23 Jan 2020, 20:29
by SedB
Thank you Cliff, I'll do my best!
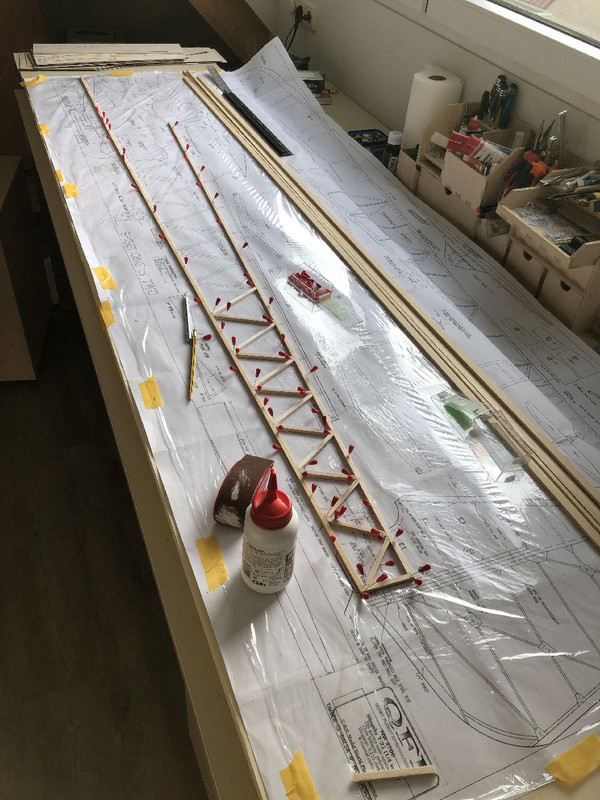
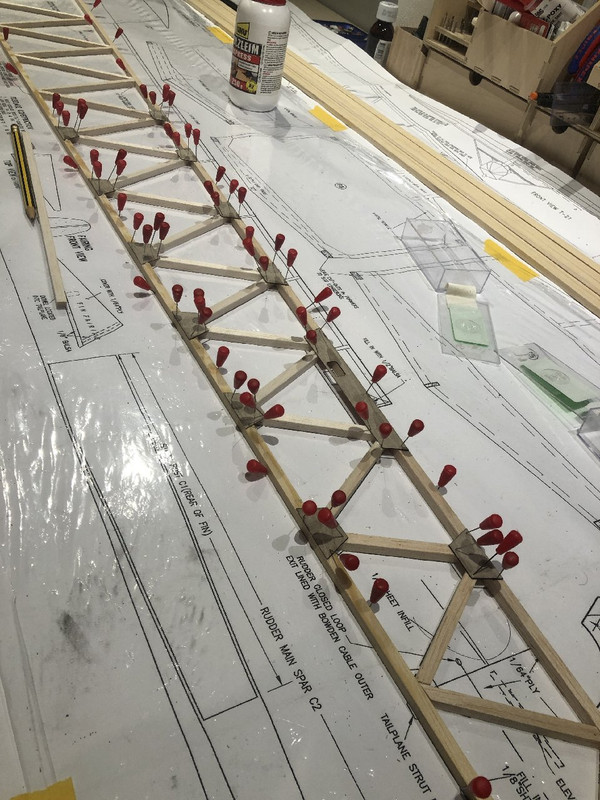
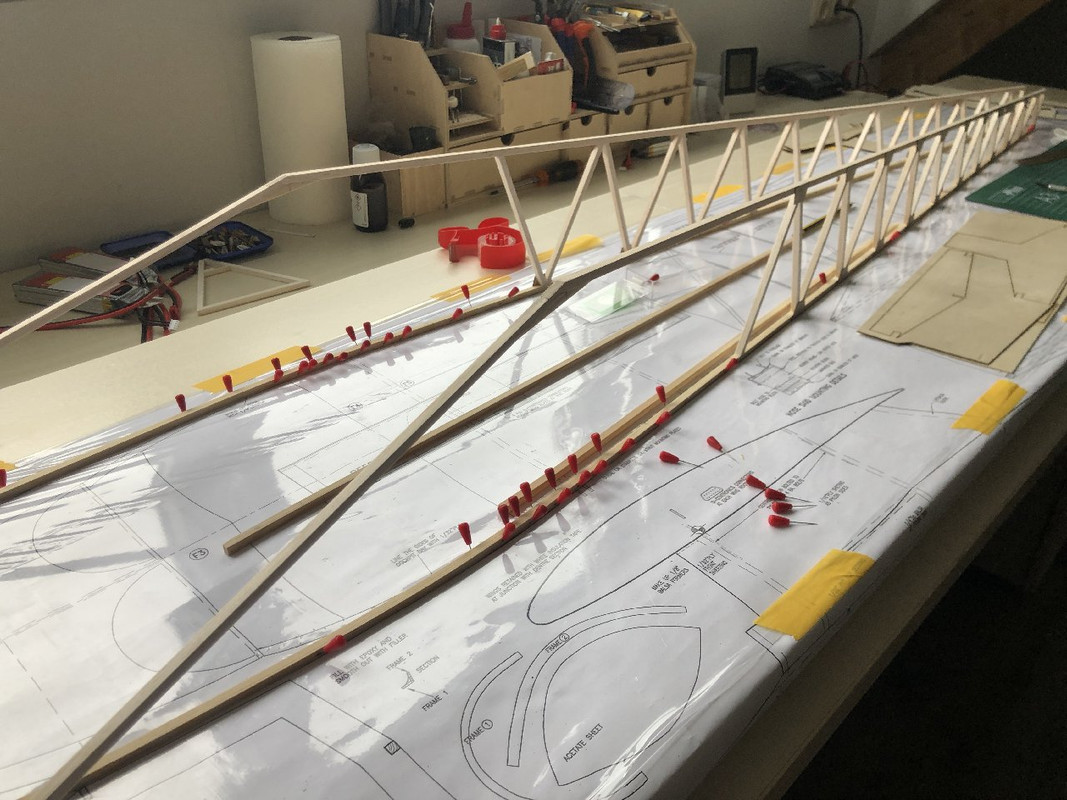
In the progress of uniting the fuselage halfs:
And making the diagonals to fit:
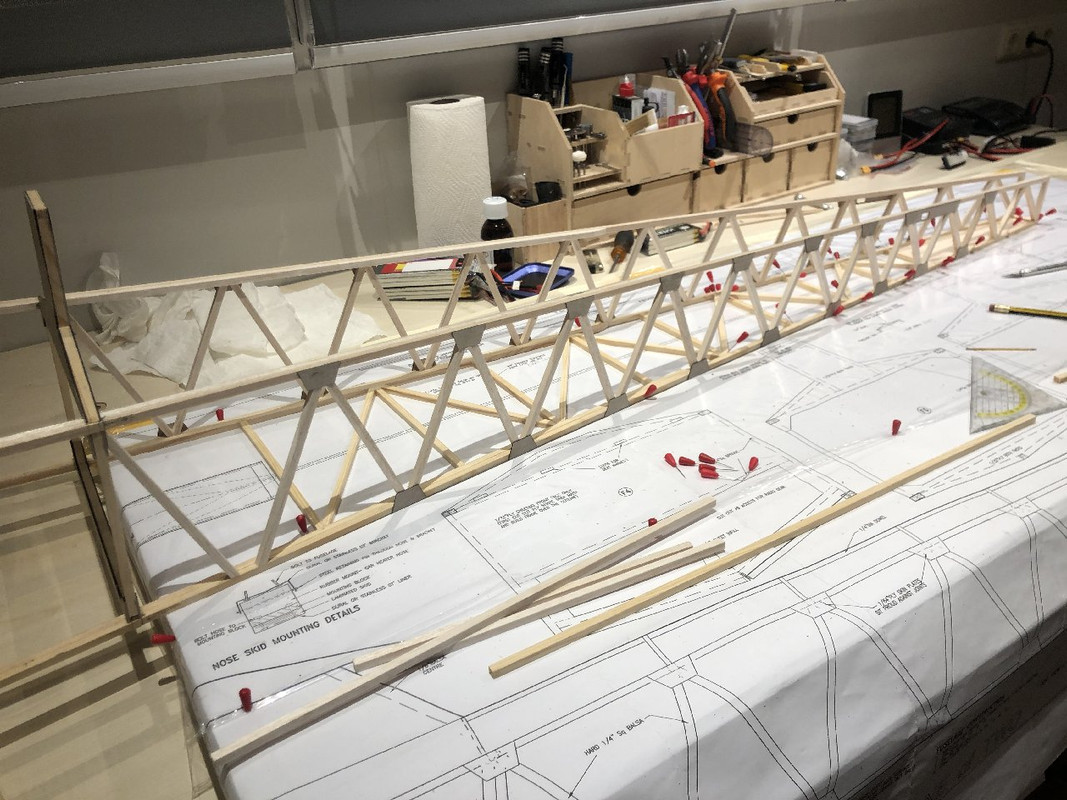
I am glad the full aft section of the T21 is quite square, so I can do this job straight on the plan.
The diagonals are 6x6mm spruce on the bottom and balsa on the top.

I guess so far the build is quit easy

I think I'm going to build the tail/rudder and elevator section on the side while stuff on the fuselage is drying. I'll have to make partial copies of the original plan to do this though (don't want to cut up the original plan)..
Looking ahead of the tail sections I notice 'leading edges' and 'false leading edges'. But, I do not understand the purpose of these..
Is the purpose of a false leading edge to be less thick than a leading edge in order to have a glue surface for the covering material (eg leading edge is 12mm and the false one is 9mm in order to cover both sides with 1.5mm sheeting)?
Or, are both joined just to get the correct thickness of the whole leading edge by using standard size ply and balsa?
I hope my question make sense

Re: 1/4 scale T-21 CW
Posted: 23 Jan 2020, 21:34
by chris williams
The false LE sits under the sheeting to give you a nice, straight edge. The final LE goes on last and covers the false LE and the top and bottom sheeting
Re: 1/4 scale T-21 CW
Posted: 23 Jan 2020, 22:56
by SedB
Clear! Thanks a lot
!
Re: 1/4 scale T-21 CW
Posted: 07 Feb 2020, 11:30
by SedB
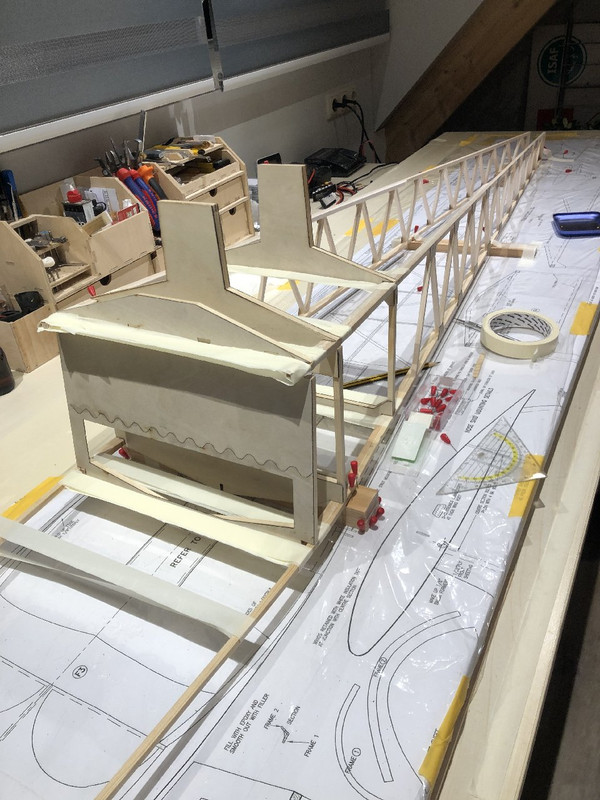
Now I that have something "I can touch" in hand, it's nice to focus on some smaller things like the "glove compartments".
Having issues bending the front longerons over the plan, I came up with this:
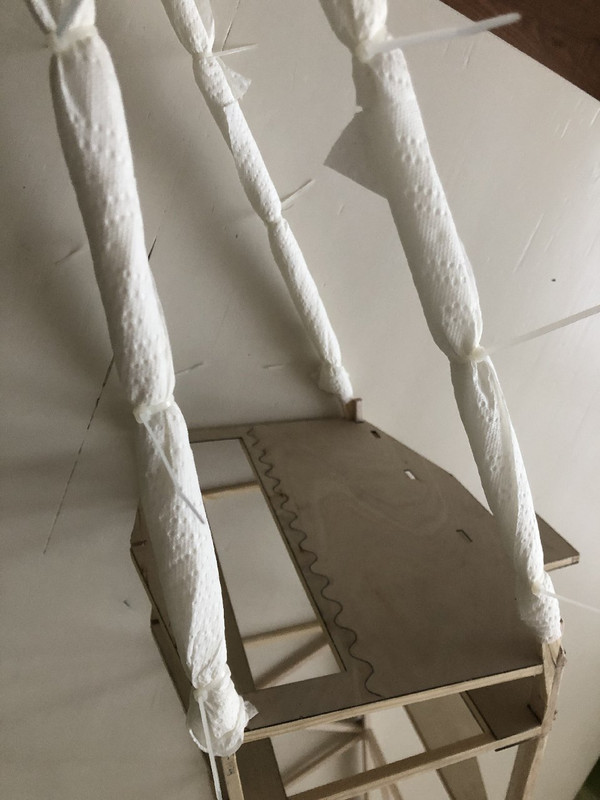
I know; it looks far from professional, but it seems to work. Using kitchen towel and draining this with hot water every few minutes makes that front becomes weak and bendable as were the aft section stays dry. I'm pretty sure there is an easier or more logical way for doing this, but none I've learned so far

Bending over the plan:
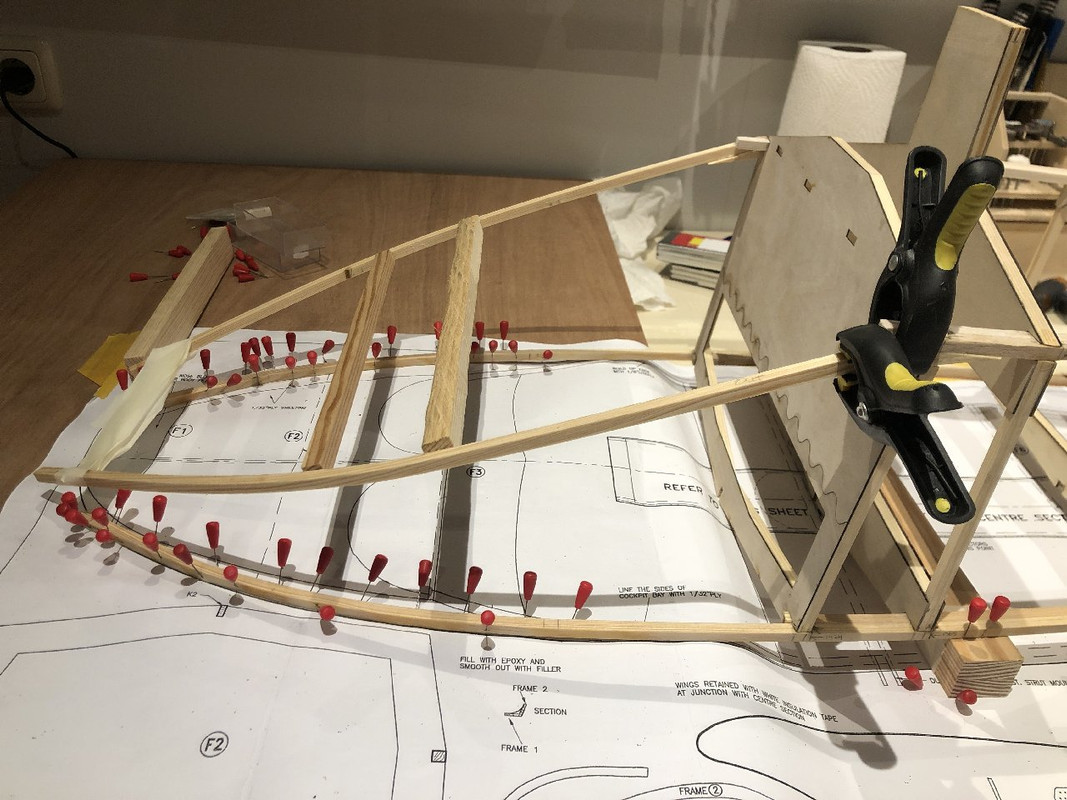
This turned out to be not as easy as I imagined. Next time I will have to build a ramp or some thing to keep the whole structure in place, to make sure everything lines up!
As said, bending was a lot harder than I imagined. The glue on the upper parts came loose duets the moisture. Good thing is that they will fit eagerly back in to place later on.

Well, now I can bend them over the plan and hopefully get them to fit straight again once dry. I did make little saw cuts on the inside to remove material and allow for a tighter bend. Before the actual bending I filled the saw cuts with glue.
Re: 1/4 scale T-21 CW
Posted: 07 Feb 2020, 11:57
by chris williams
These days, where possible, I would laminate two 3 x 6 mm strips together to get an easier bend...
Re: 1/4 scale T-21 CW
Posted: 07 Feb 2020, 16:49
by RobbieB
chris williams wrote: ↑07 Feb 2020, 11:57
These days, where possible, I would laminate two 3 x 6 mm strips together to get an easier bend...
First choice every time........
Re: 1/4 scale T-21 CW
Posted: 09 Feb 2020, 14:55
by jack
nice job sedb,l built mine a while ago from CW plans,l fully concur with cliff,s comment re keep the tail as light as possible,to avoid incurring the wrath of our local "sky pilot" and his ultimate boss,l managed to locate a pair of 6 volt PB batteries in the nose,one either side of the centre line,even so l still needed some church roof as well
good luck with the rest of the build...jack.