Since I'm new to the non-engined soaring part of the hobby I wanted to build a smaller glider to have something to practice with.
Too being new to building in general, I was looking for something relatively easy.
The project is found in the 3 meter span version of the SZD-25 Lis from Old Gliders. The kit I choose is the laminated version, meaning it comes with a gfk fuselage. This is the kit I'm talking about:
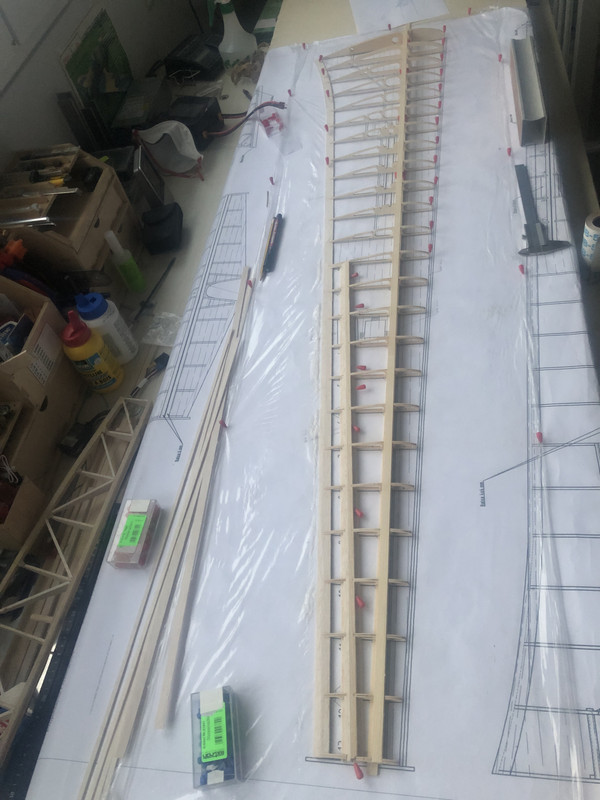
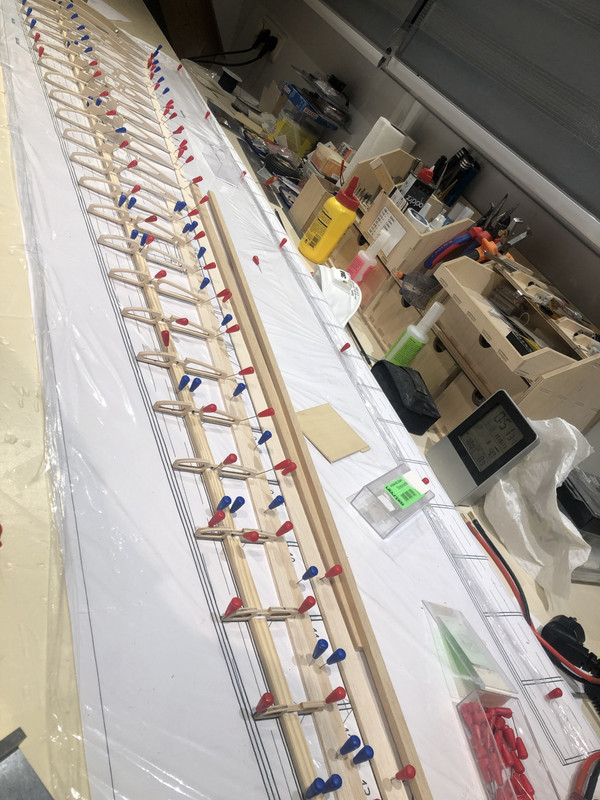
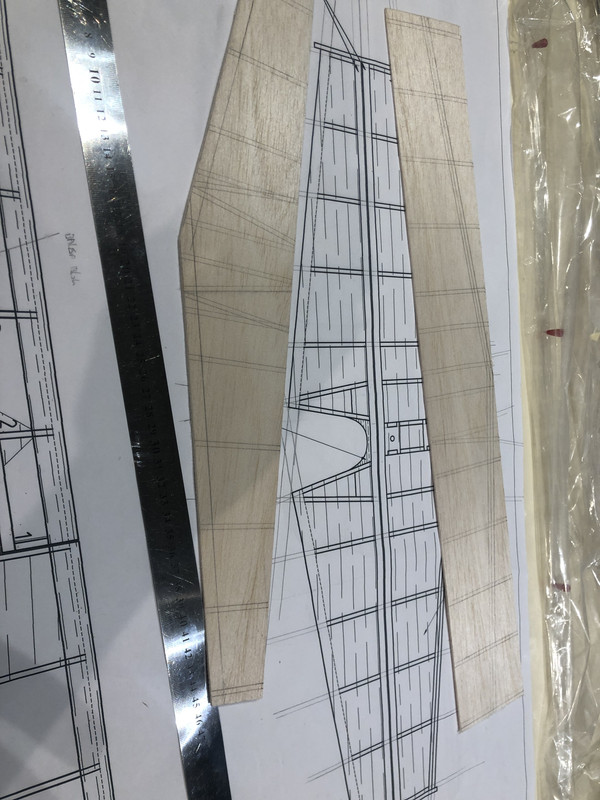
The kit comes with a dvd full of pics which guide you trough the build. Though starting on the wings I realized a bit of info was not at hand. A mail to OG was quickly answered and I found my answers on how to fill out the main and supporting spars.
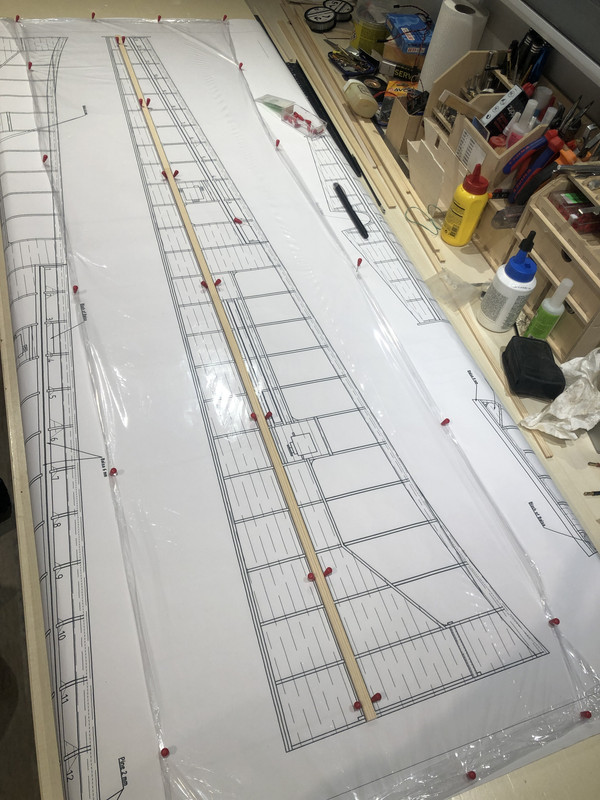
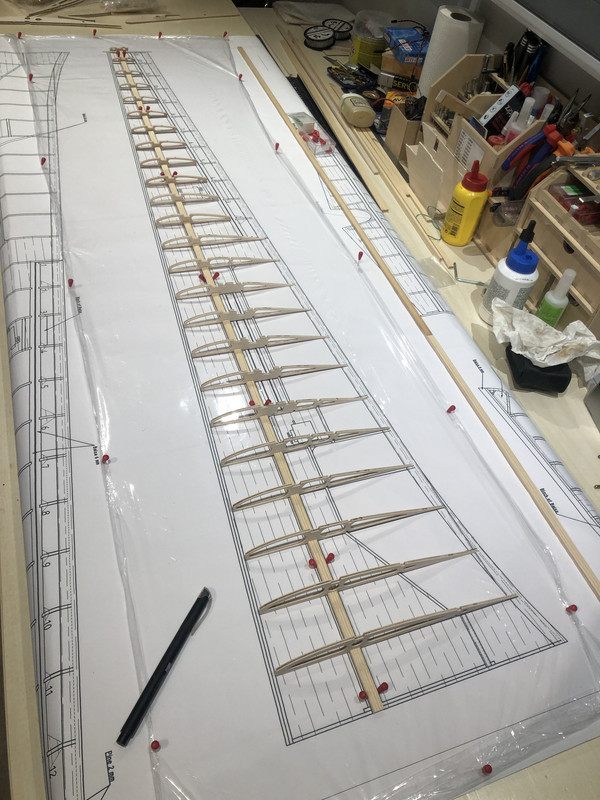
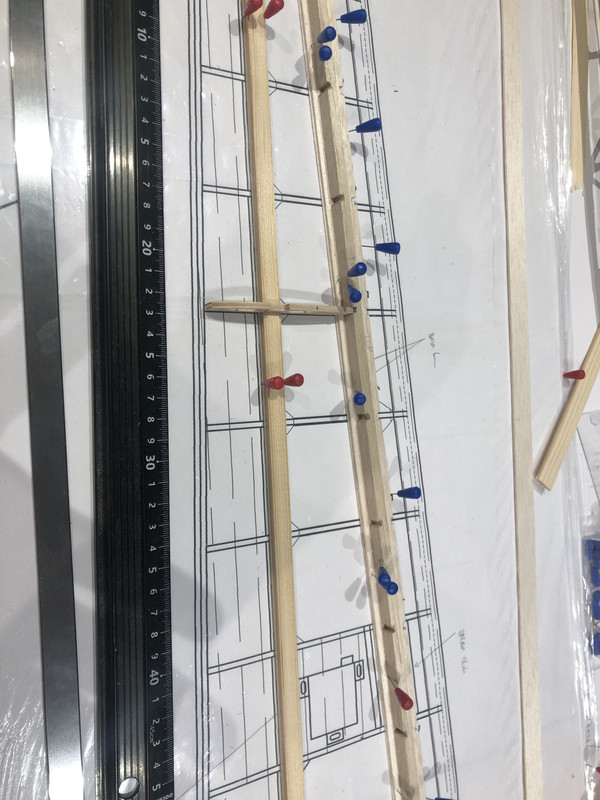
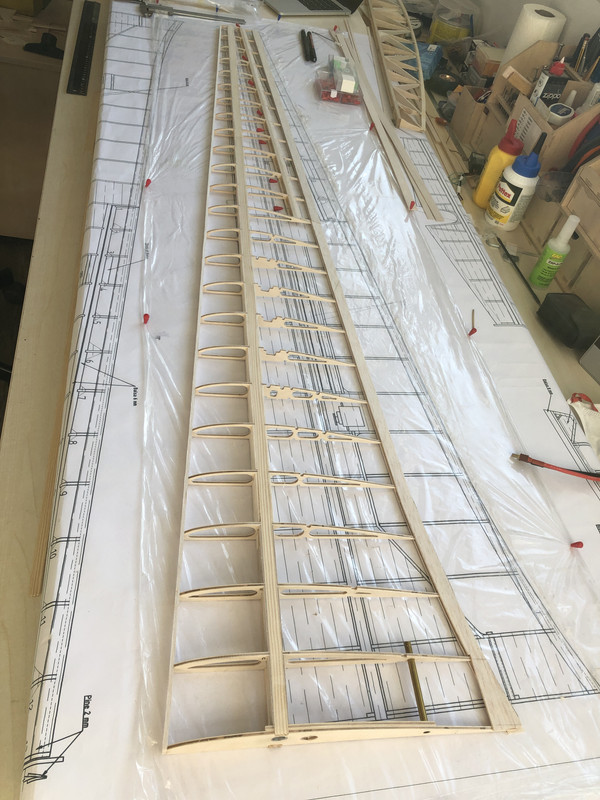
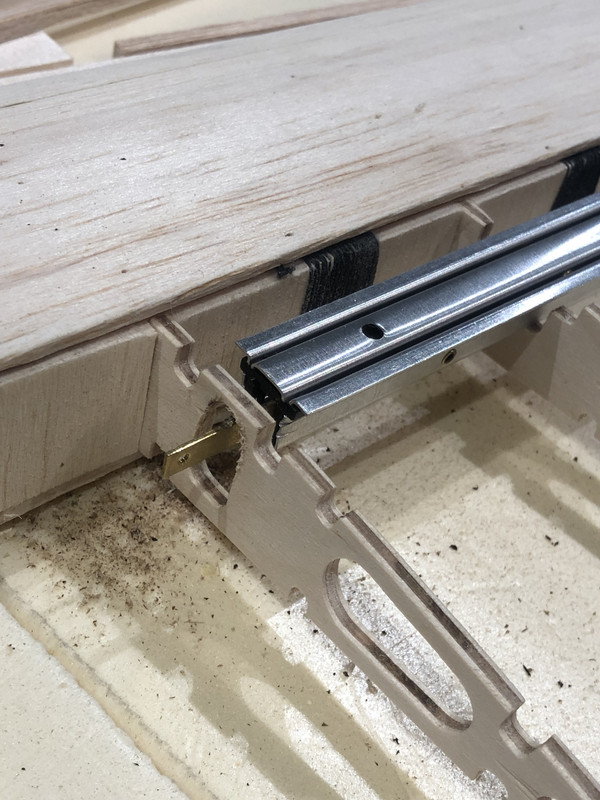
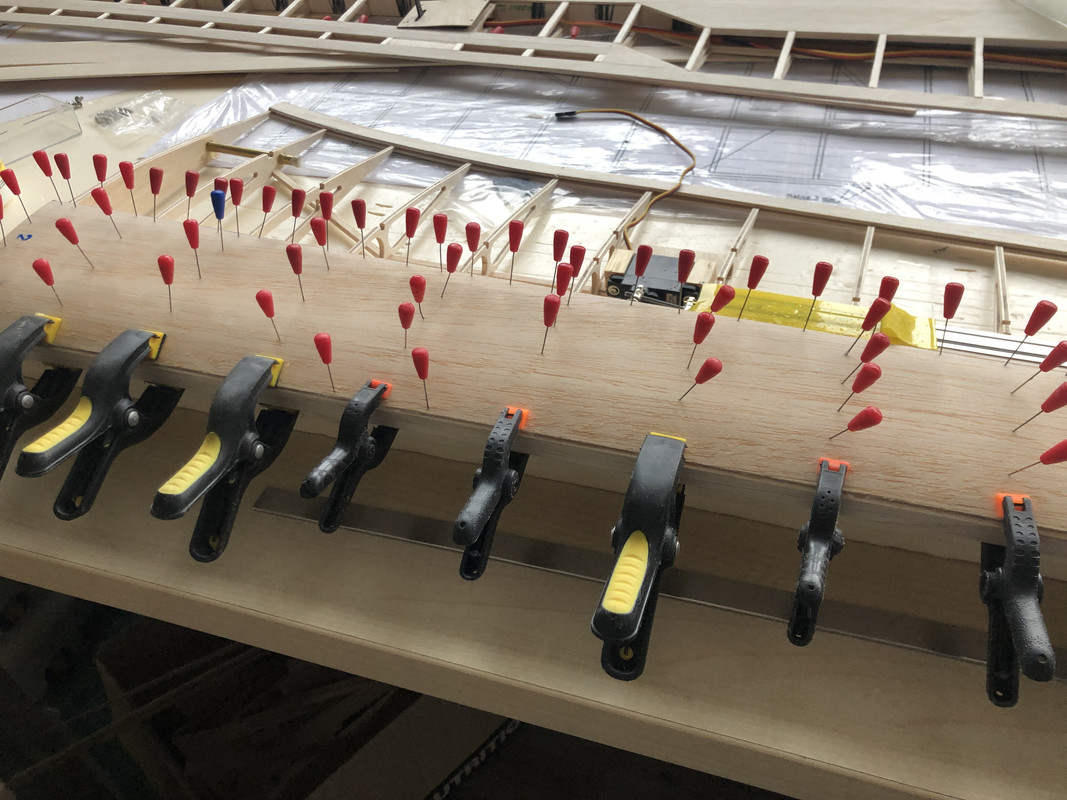
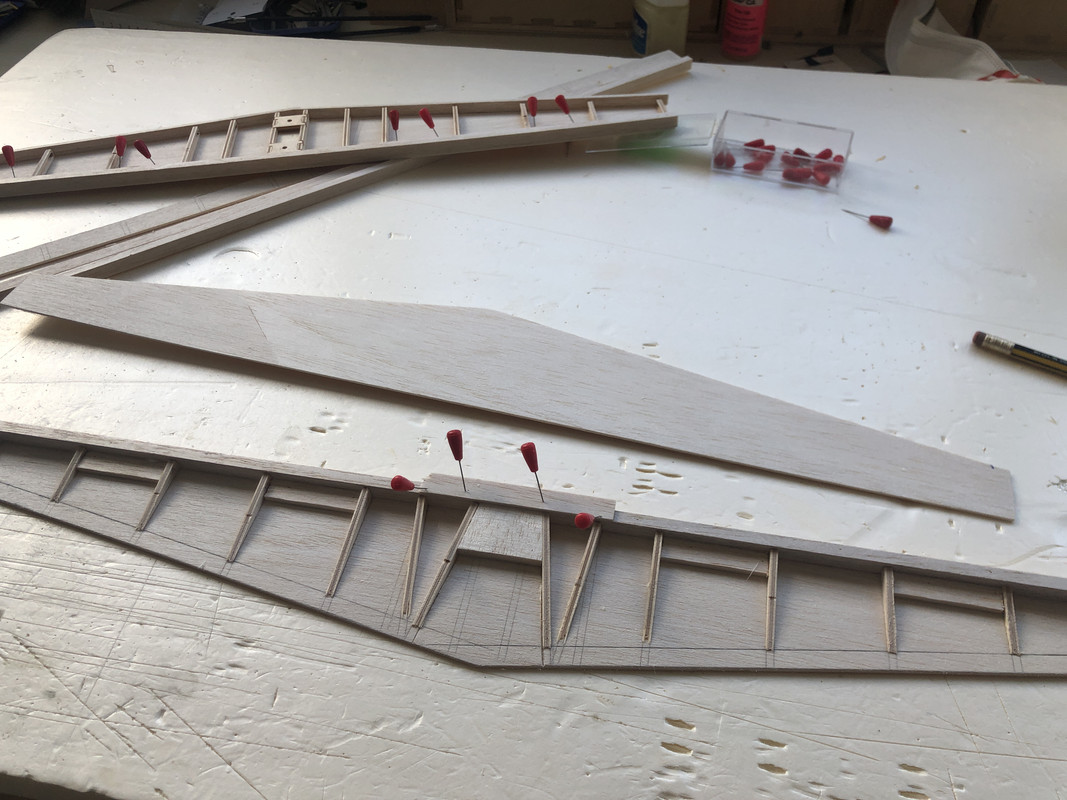
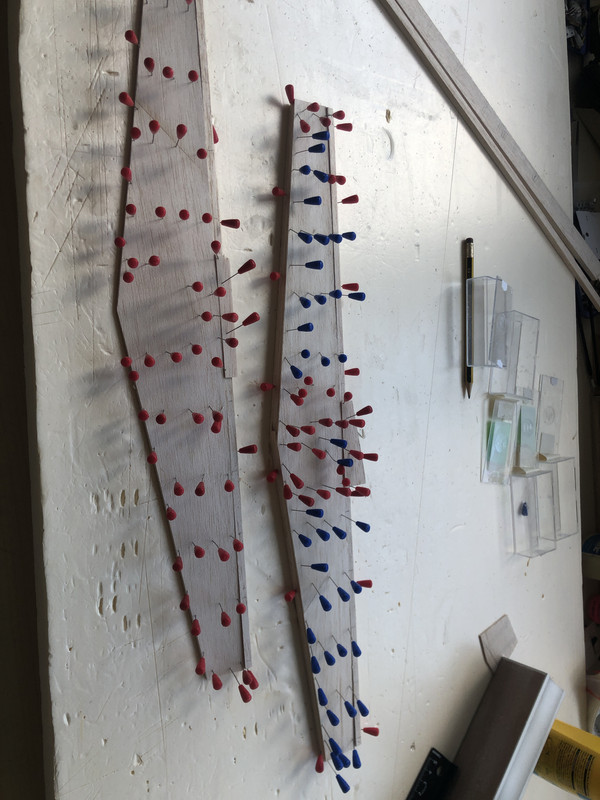
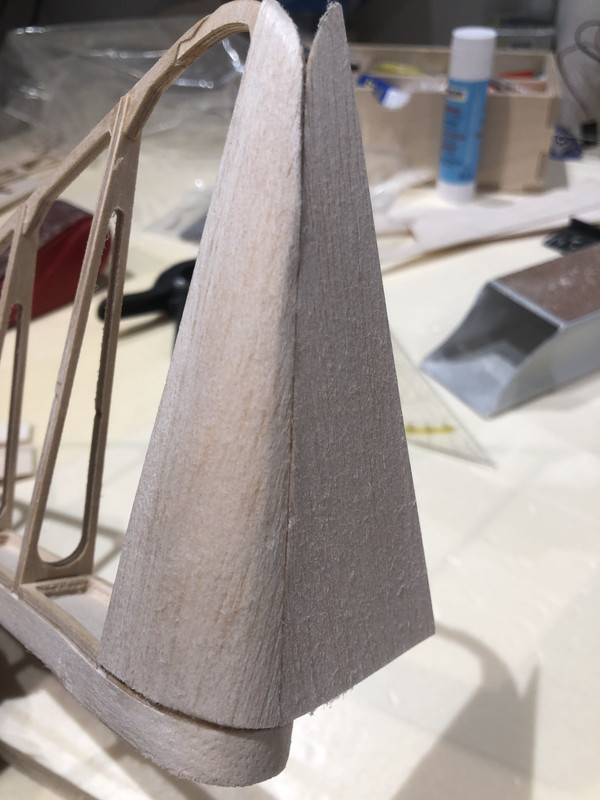
Here it somewhat can be seen what I mean with the fill out. The majority of the wing is build lifted on a 2mm strip to assure the correct washout.
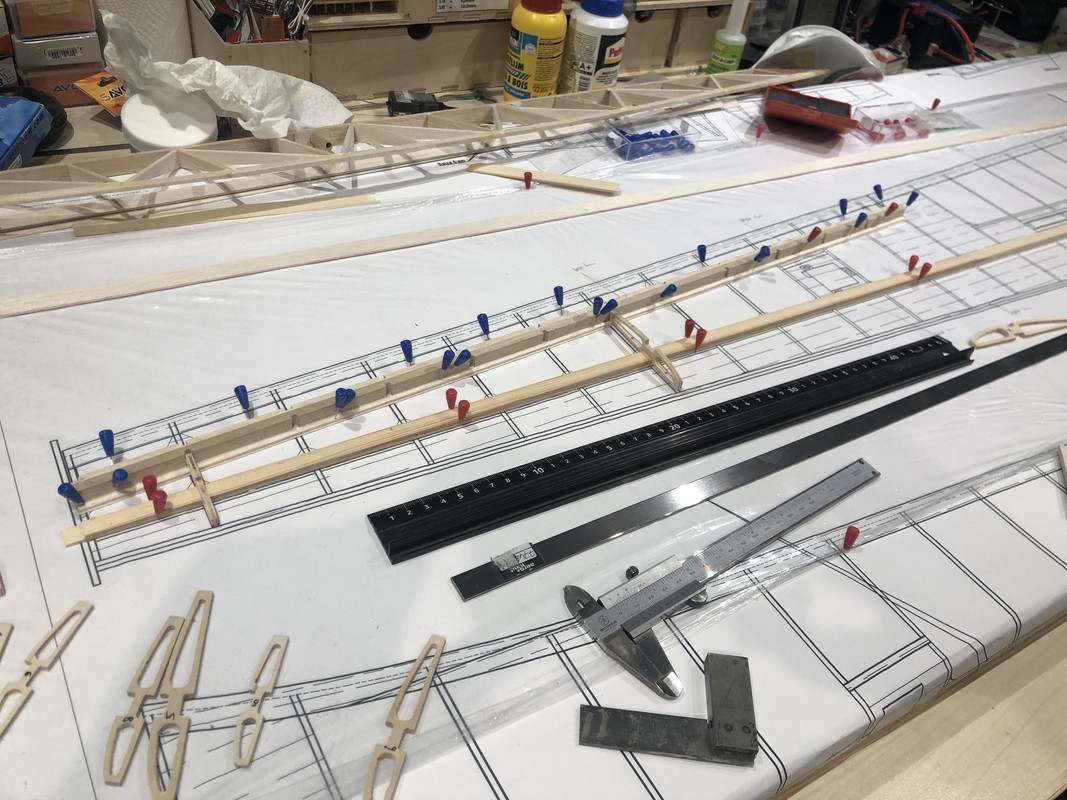
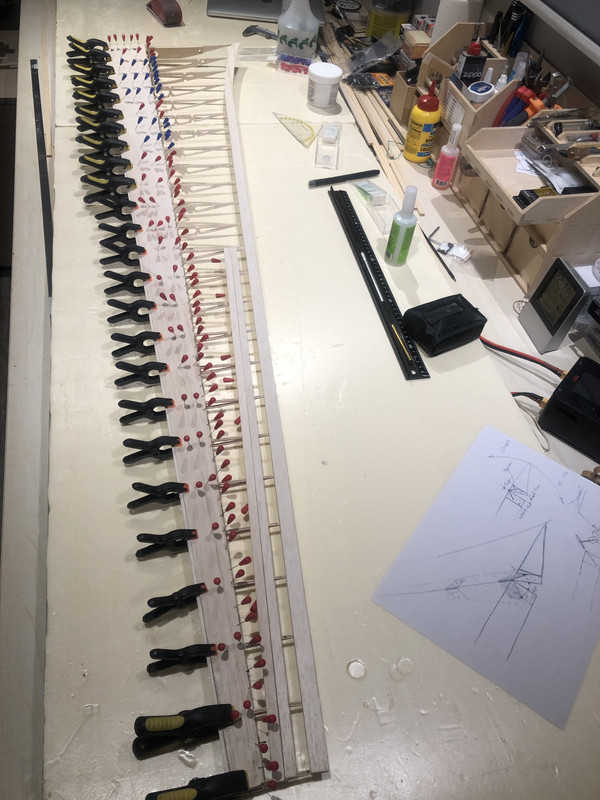
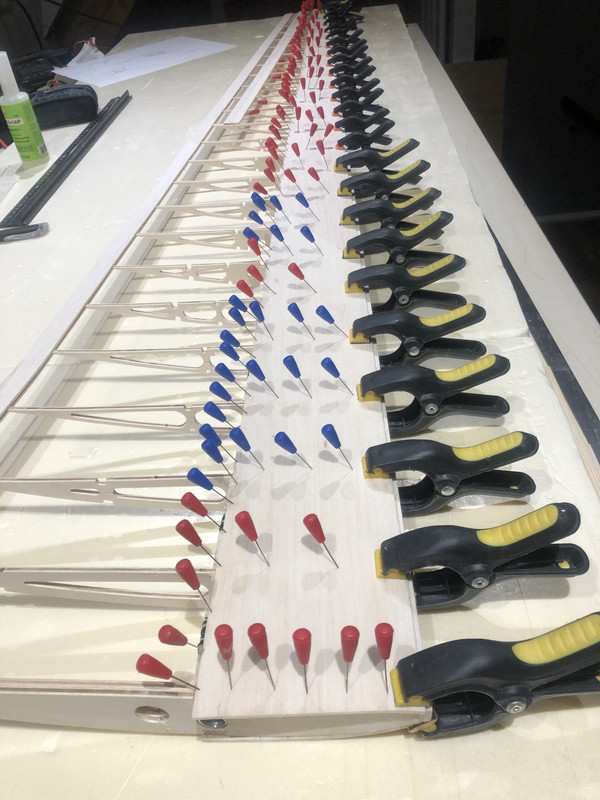
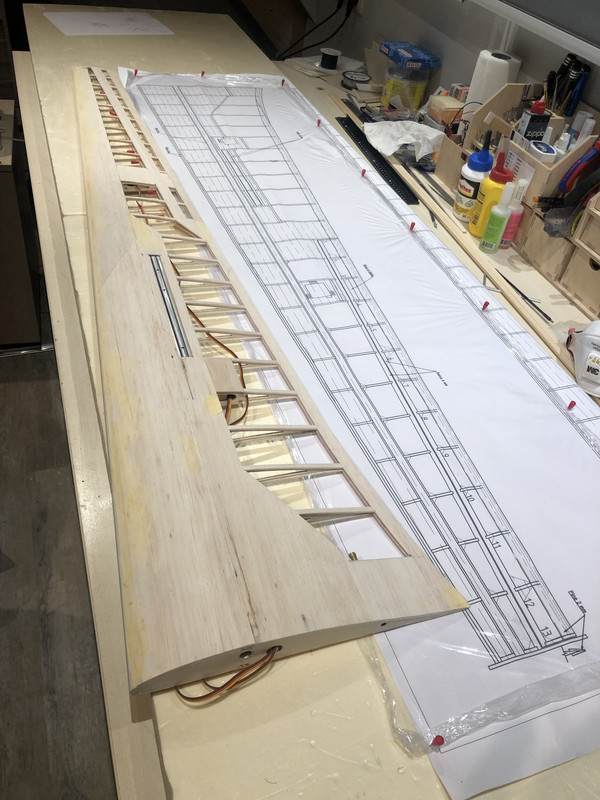
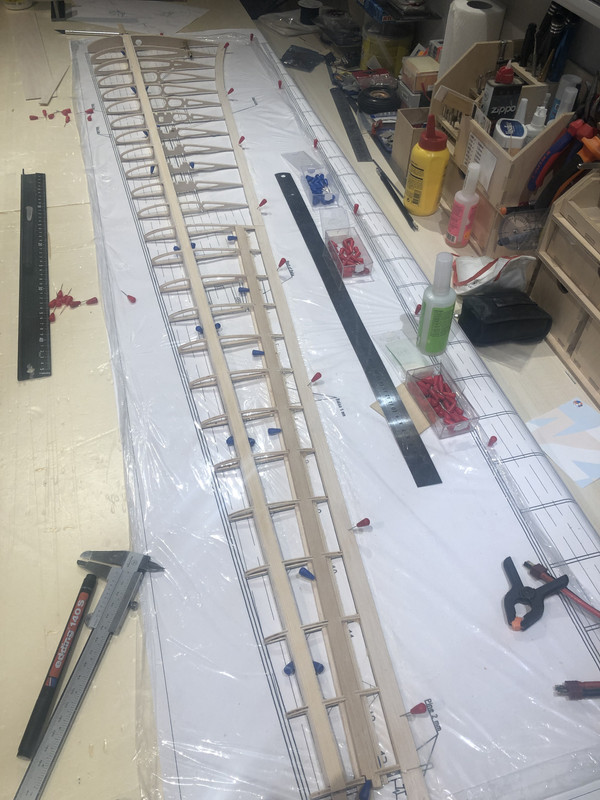
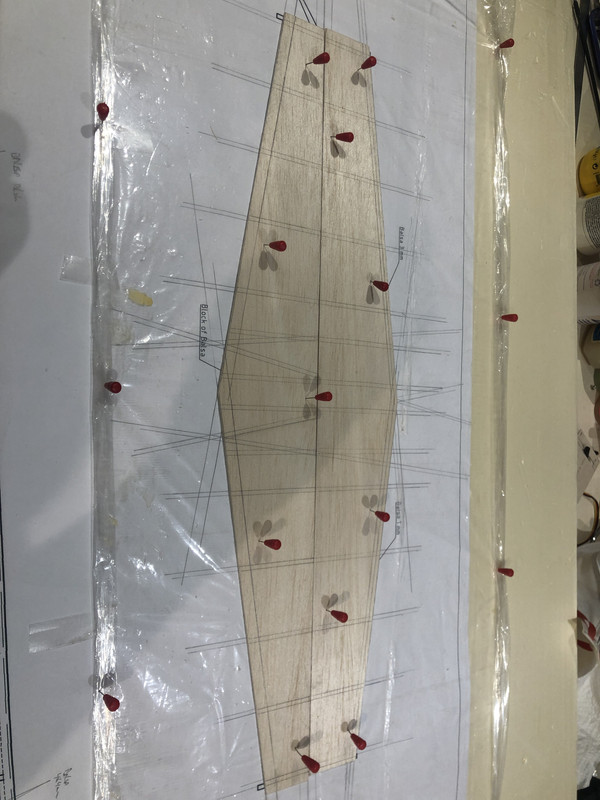
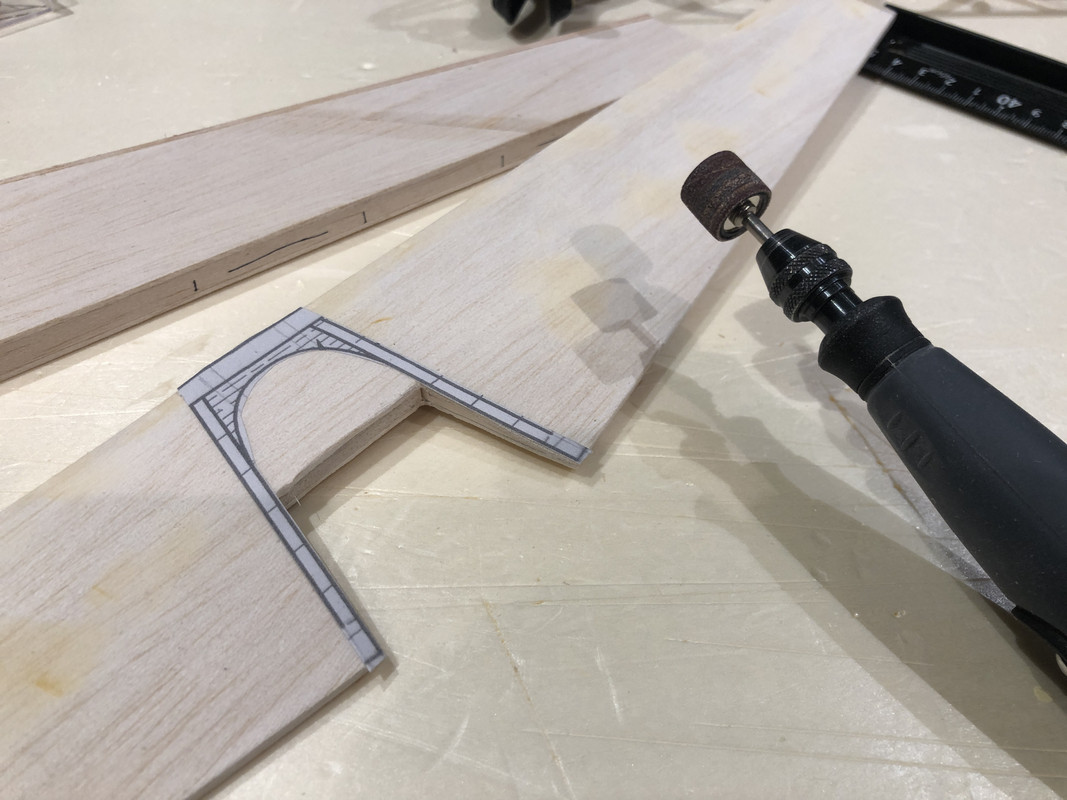
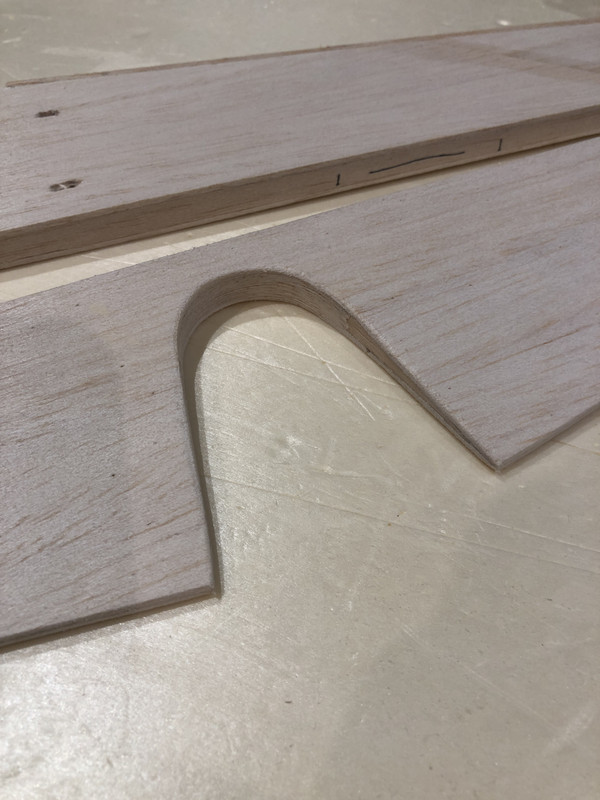
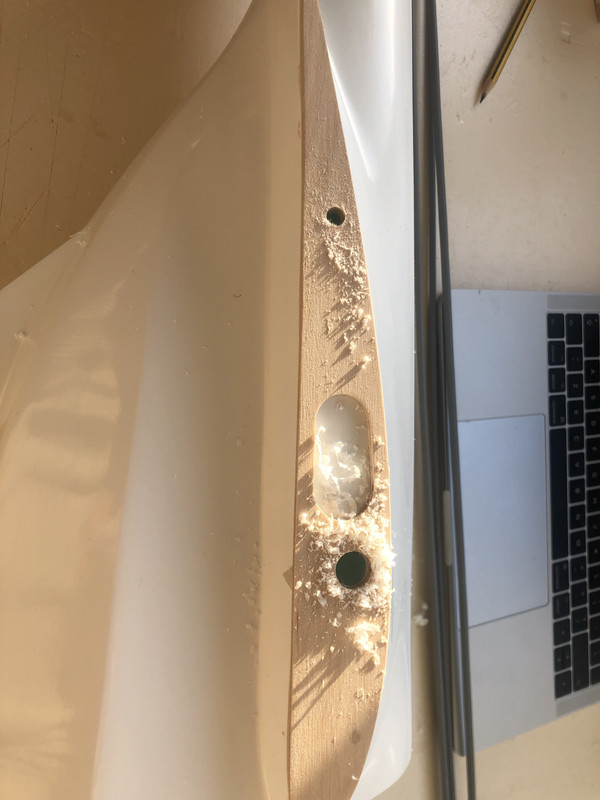
The ailerons are build connected to the wing so they can be sanded to correct alignment later on.
-
- Administrator
-
-
Before your membership becomes valid, you will receive an email that must be answered.
Please check your spam folder or this email.
SZD-25 Lis Old Gliders
- SedB
- Posts: 98
- Joined: 14 Nov 2019, 09:17
- Location: Netherlands
Re: SZD-25 Lis Old Gliders
I hope it flies well too Adam!?
The wing construction is goes pretty straight foreward. The main spars, leading edge and trailing edge had to be lengthened since they are over 1 meter.
As per DVD I used cord to strengthen the upper and lower spar (forgot to make pics), but I somewhat regret this. The sheeting on the wings used is 2mm and the cord around the spars lifts the sheeting from the spar, resulting in the sheeting not nicely flowing over the ribs..
I could (should!) have done a better job here:
Guess I will be using filler to fill the gap between the sub- and leading edge..
-
- Posts: 497
- Joined: 18 Mar 2015, 07:52
- Contact:
Re: SZD-25 Lis Old Gliders
The sub leading edge should have been shaped to the profile of the ribs and then the sheeting attached to it so it slightly overlaps the front. When the glue has dried this can be cut/sanded back flush before the leading edge is attached. As it is done now, lightweight filler or even better a thin strip of wood will fill the gap but the wing sheeting not being bonded to the sub leading edge will mean the wing will not be as strong, hence the suggestion to fill with wood, not filler.
AEB
AEB
AEB = Aeronautical Energiser Bunny (with thanks to CW)
- SedB
- Posts: 98
- Joined: 14 Nov 2019, 09:17
- Location: Netherlands
Re: SZD-25 Lis Old Gliders
Thanks a lot gents!!
- SedB
- Posts: 98
- Joined: 14 Nov 2019, 09:17
- Location: Netherlands
Re: SZD-25 Lis Old Gliders
There must be a thousand ways to fit a aileron servo, this way is good enough, though next time i'll do better
The idea is to make them replaceable..
The LE gap is filled with hard balsa and sanded to shape. I used lite filler to coverup some dents and imperfectments.
For those who wonder; I build on XPS house insulation plates. They are flat, straight and cheap!
The idea is to make them replaceable..
The LE gap is filled with hard balsa and sanded to shape. I used lite filler to coverup some dents and imperfectments.
For those who wonder; I build on XPS house insulation plates. They are flat, straight and cheap!
- SedB
- Posts: 98
- Joined: 14 Nov 2019, 09:17
- Location: Netherlands
Re: SZD-25 Lis Old Gliders
As of what I'm doing next I can be brief; there is a second wing to be made:
As mentioned on the other wing; the kit came with pictures of the spars (only 4mm thick) being reenforced with wire. It might be an overkill, but since I followed the example on the right hand wing, I have to do it on this one too. Unfortunately the result of this proces is that the top and bottom spar are not completely flat on the surfaces anymore..
As said, I think I over did it with the wiring, as the spars are webbed together and the sheeting is 2mm!
- SedB
- Posts: 98
- Joined: 14 Nov 2019, 09:17
- Location: Netherlands
Re: SZD-25 Lis Old Gliders
elevator assembly starts with drawing a lot of lines:
Not sure why they just didn't draw them on the plan straight away..
Not much special here to the build, seems to be a quit solid construction to me;
Not sure why they just didn't draw them on the plan straight away..
Not much special here to the build, seems to be a quit solid construction to me;
- SedB
- Posts: 98
- Joined: 14 Nov 2019, 09:17
- Location: Netherlands
Re: SZD-25 Lis Old Gliders
With the elevator build it's time to sand it into shape. I found that for me it goes easiest when I scan the plan and print the specific part at 100%:
Et voilla:
Et voilla:
- SedB
- Posts: 98
- Joined: 14 Nov 2019, 09:17
- Location: Netherlands
Re: SZD-25 Lis Old Gliders
Took some patience to fold the 1mm balsa around the rudder:
I made a kind of mould to locate the position for the stabiliser/rudder:
This worked out fine and got the holes drilled in the correct position:
This part I hate doing; cutting holes for the pushrods:
Some more cutting that requires patience and double measurements :
To be continued..
I made a kind of mould to locate the position for the stabiliser/rudder:
This worked out fine and got the holes drilled in the correct position:
This part I hate doing; cutting holes for the pushrods:
Some more cutting that requires patience and double measurements :
To be continued..
- Max Wright
- Posts: 198
- Joined: 10 Mar 2020, 19:57
- Location: Clayton Bay South Australia