

-
- Administrator
-
-
Before your membership becomes valid, you will receive an email that must be answered.
Please check your spam folder or this email.
1/4 scale T-21 CW
-
SedB

- Posts: 98
- Joined: 14 Nov 2019, 09:17
- Location: Netherlands
Re: 1/4 scale T-21 CW
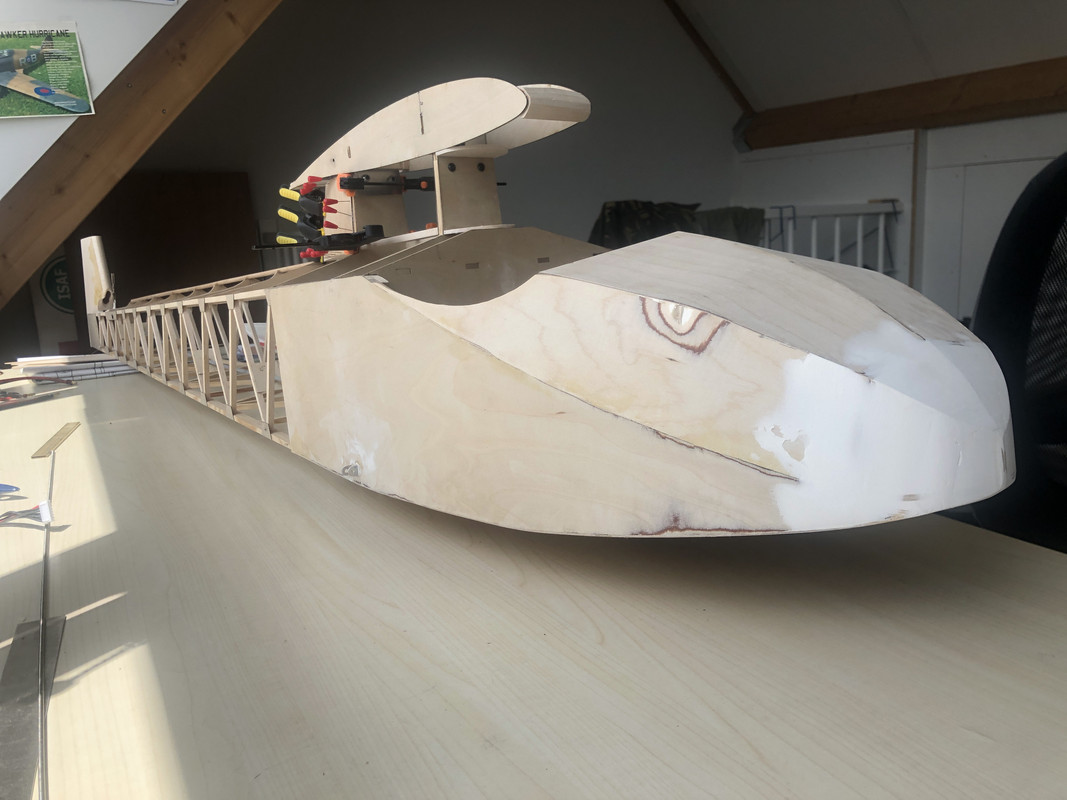
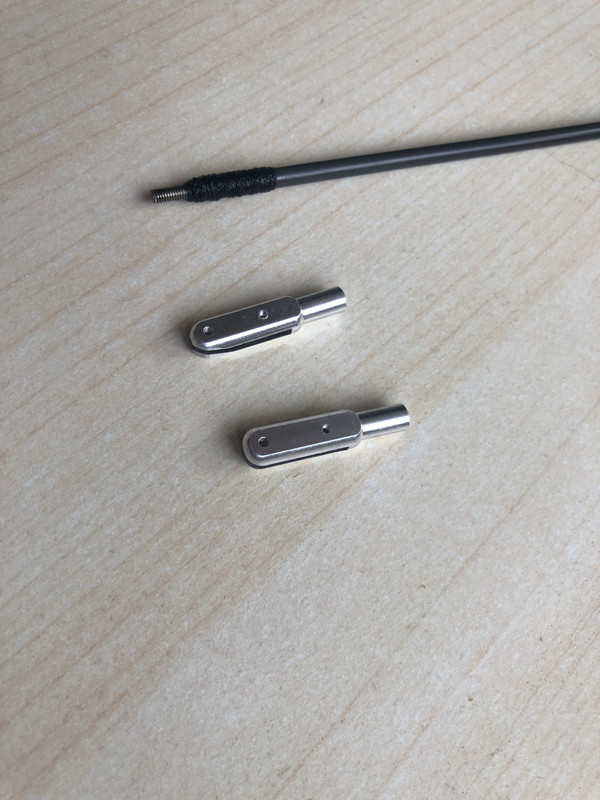
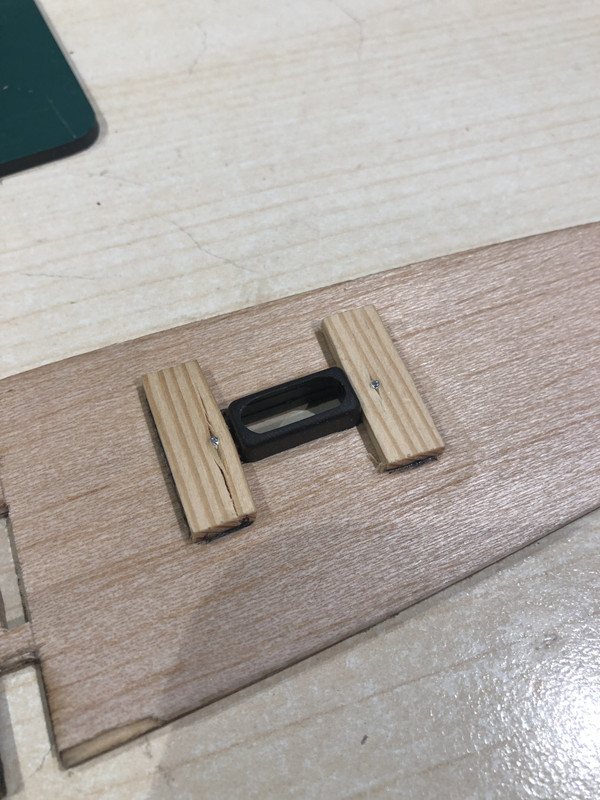
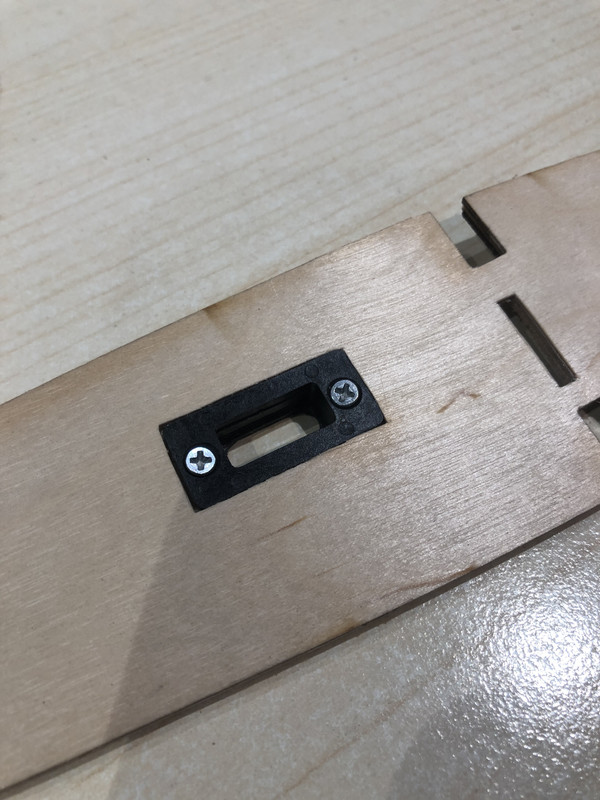
For the first couple of flights I'm planning on having the Sedbergh towed, though I plan on flying it on the slopes. Anyways, I'm building in a tow release.
Since this is my first real build, it is also the first time I've put one of these into a glider.
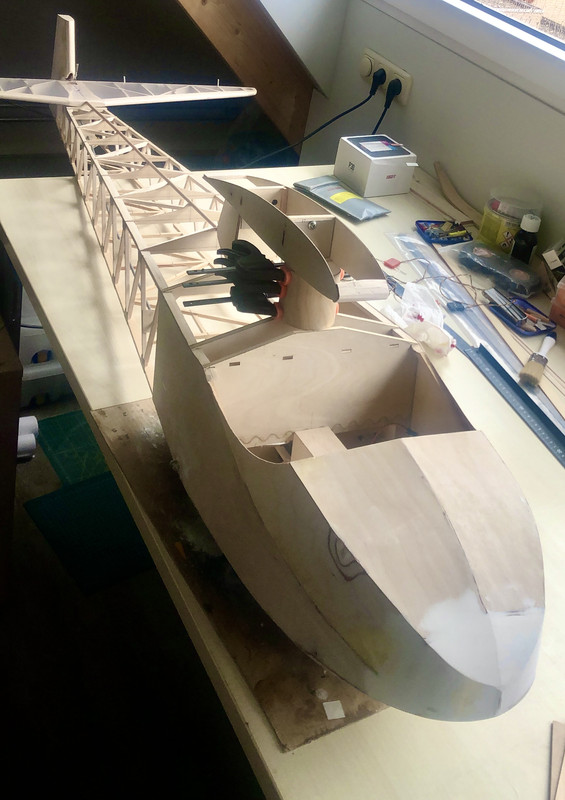
There the belly of the T-21 is rather flat, the easiest way would be to put straight into the nose, though I do not like the looks of it..
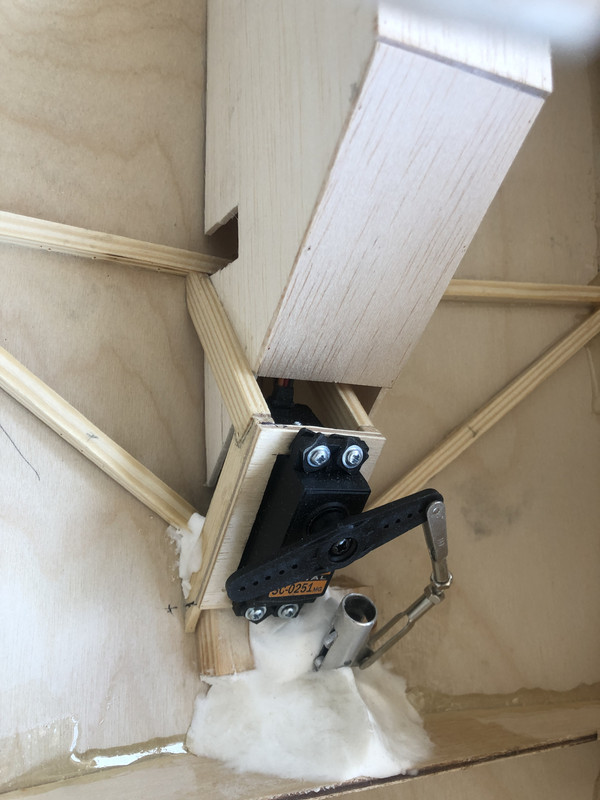
The fix the installation I mixed so fiber with epoxy. There whole thing is rock hard, so hopefully strong enough..

Now I'm left wondering if the ff needs more structural strenghtening? Looking at builds of the 1/3d version, I see a whole lot more wood goes into the nose..
Since this is my first real build, it is also the first time I've put one of these into a glider.
There the belly of the T-21 is rather flat, the easiest way would be to put straight into the nose, though I do not like the looks of it..
The fix the installation I mixed so fiber with epoxy. There whole thing is rock hard, so hopefully strong enough..
Now I'm left wondering if the ff needs more structural strenghtening? Looking at builds of the 1/3d version, I see a whole lot more wood goes into the nose..
-
SedB
- Posts: 98
- Joined: 14 Nov 2019, 09:17
- Location: Netherlands
Re: 1/4 scale T-21 CW
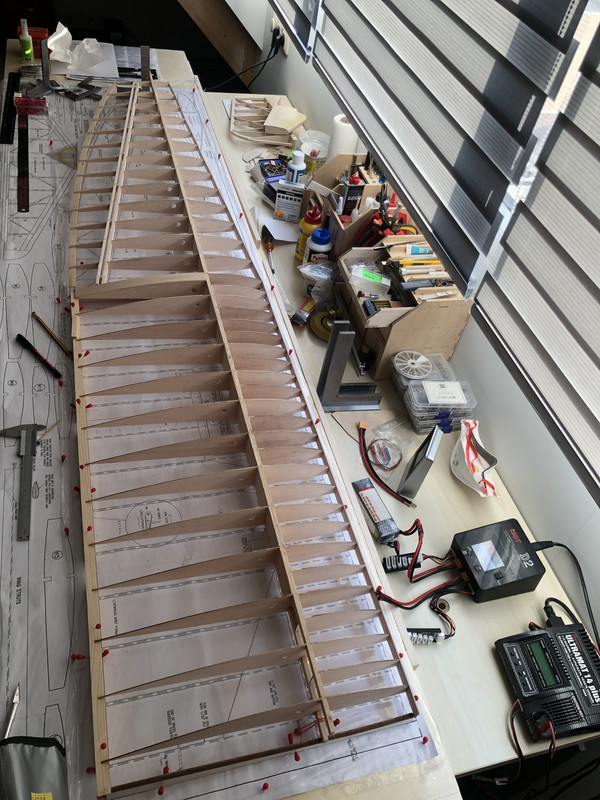
T-21 Warthawg 

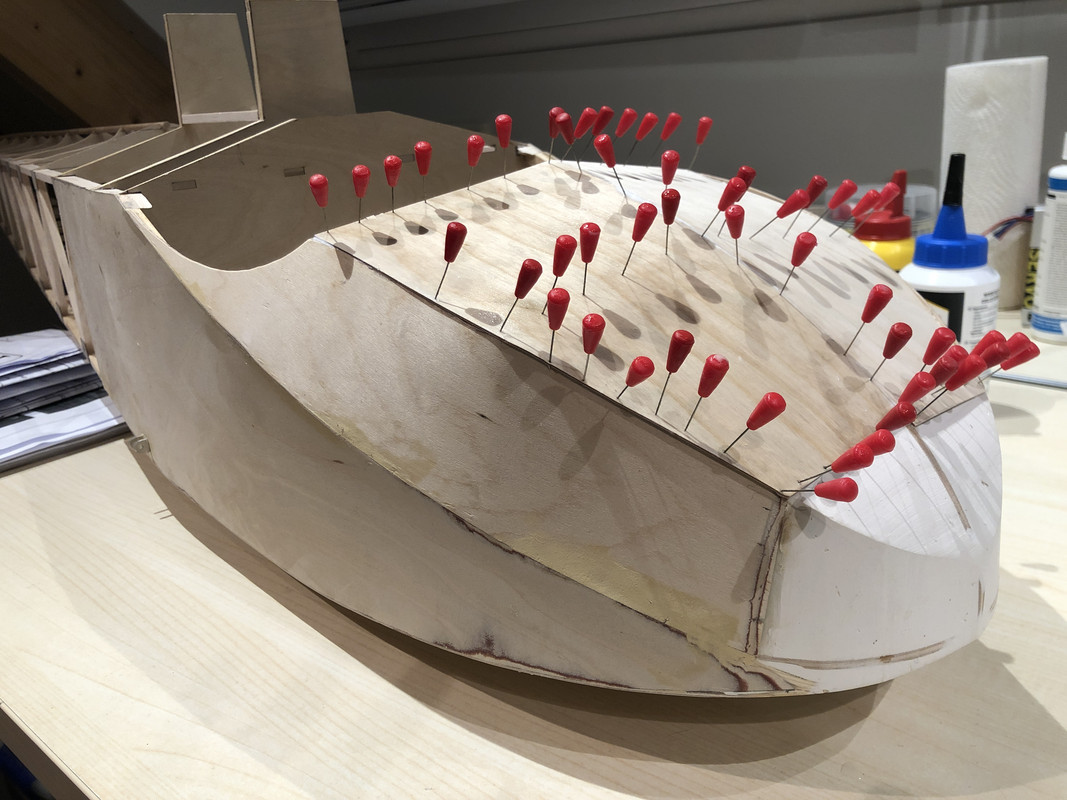
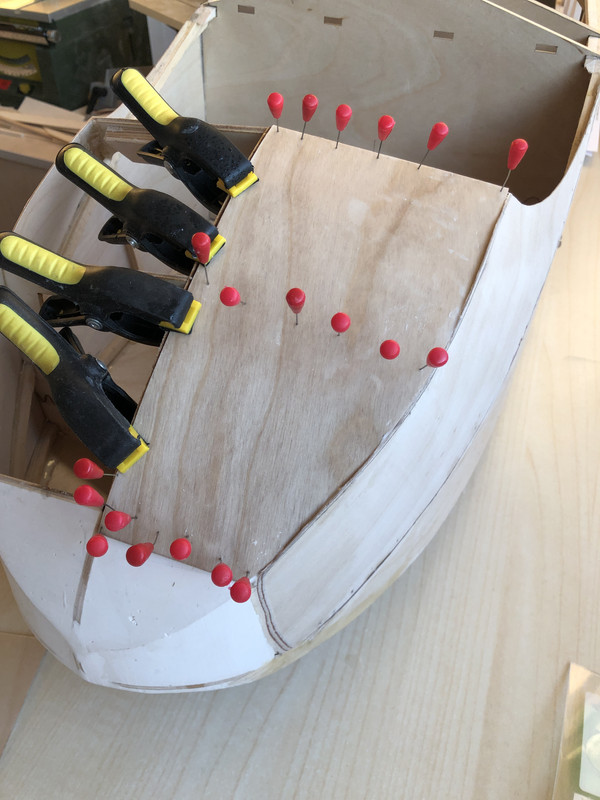
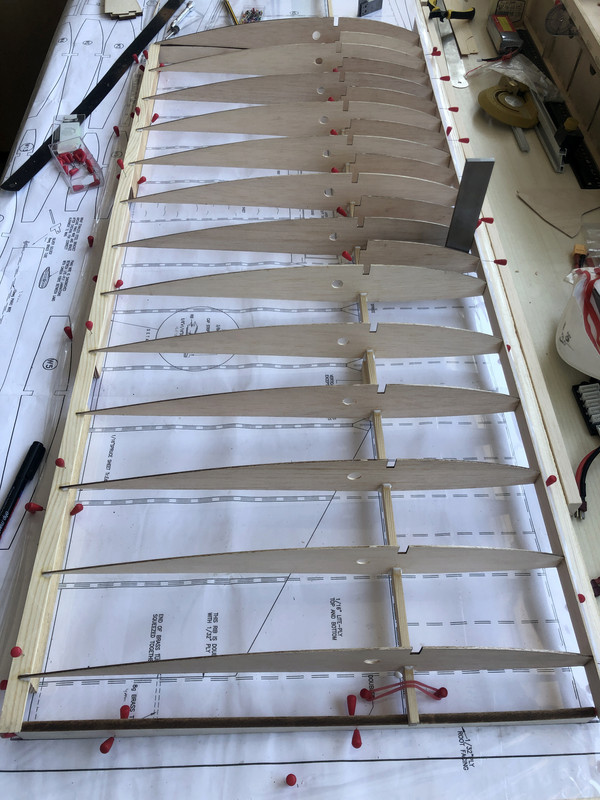
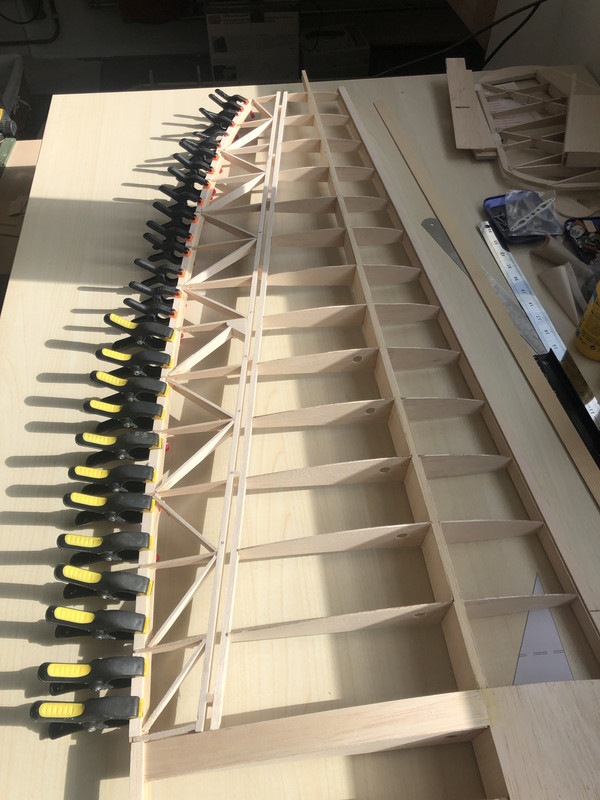
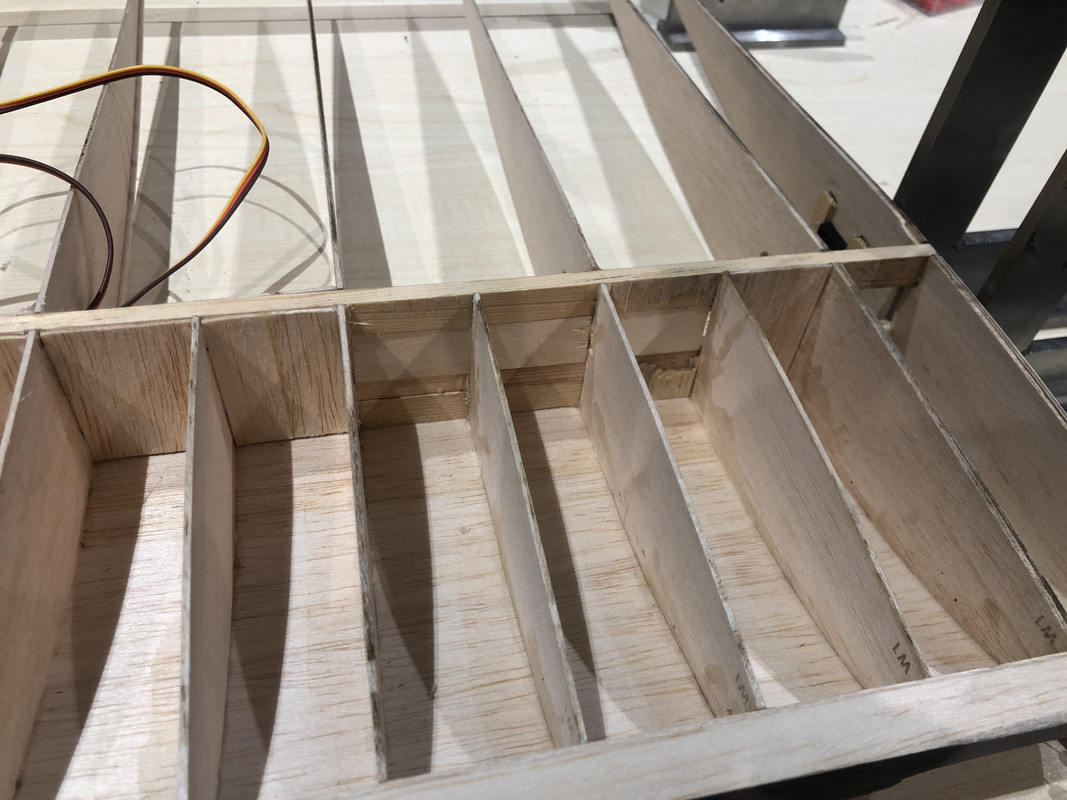
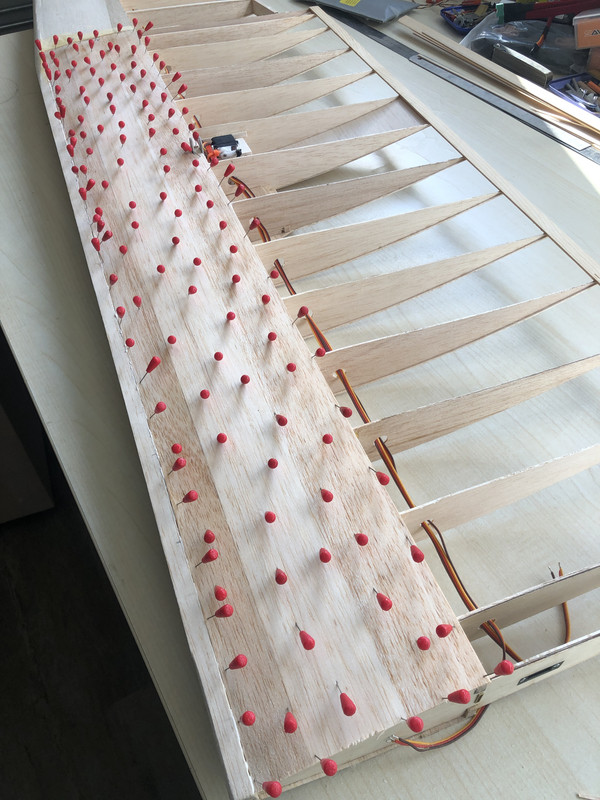
There must be a better way to fix 1.5mm ply into position, rather than using pins. Half of the pins broke, the other half ended up in my fingers
Counting the ribs, it seems I got a bonus; there are more than on the plan.
I'm happy to start on the wing, wonder what I am getting myself into
There must be a better way to fix 1.5mm ply into position, rather than using pins. Half of the pins broke, the other half ended up in my fingers
Counting the ribs, it seems I got a bonus; there are more than on the plan.
I'm happy to start on the wing, wonder what I am getting myself into
-
SedB
- Posts: 98
- Joined: 14 Nov 2019, 09:17
- Location: Netherlands
Re: 1/4 scale T-21 CW
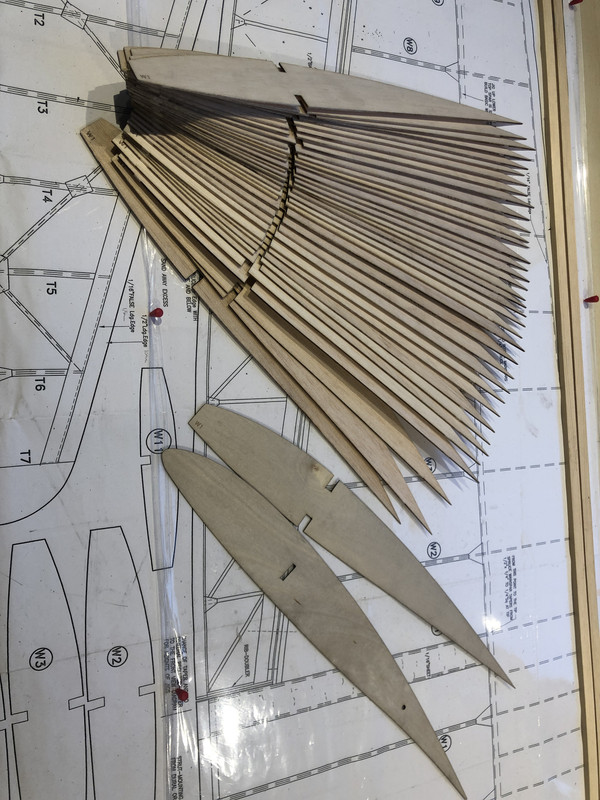
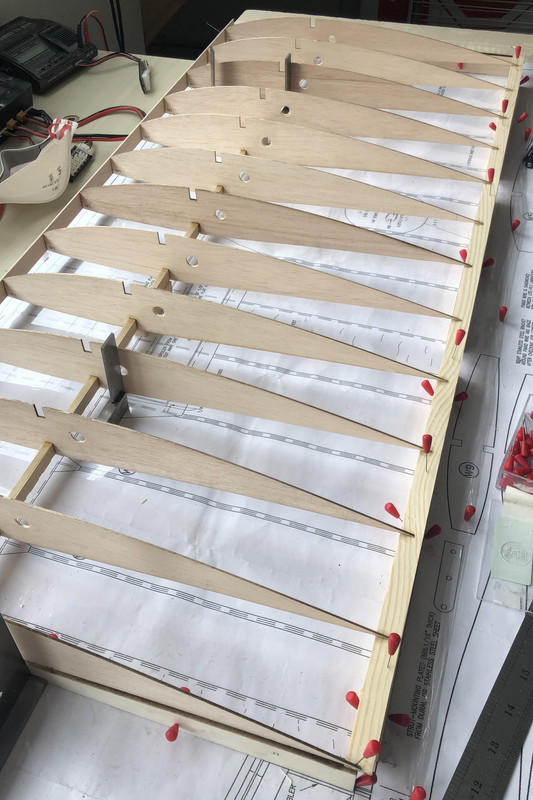
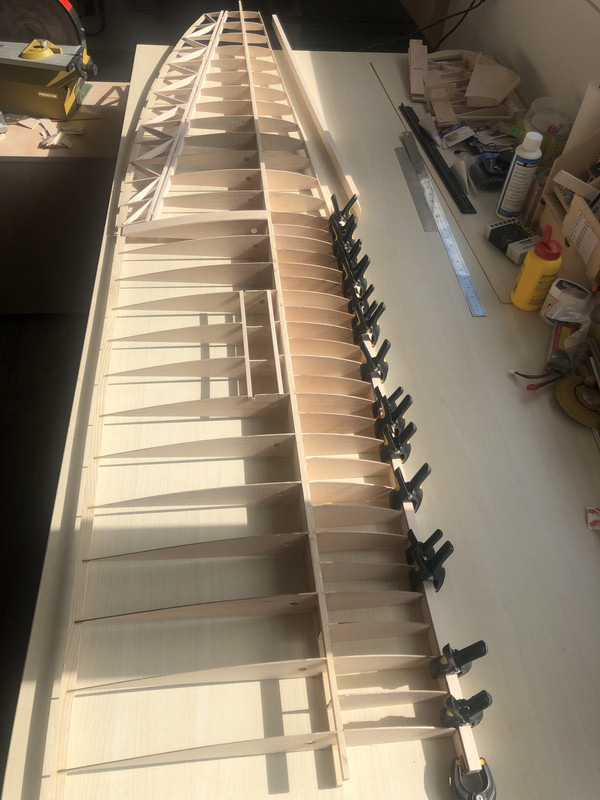
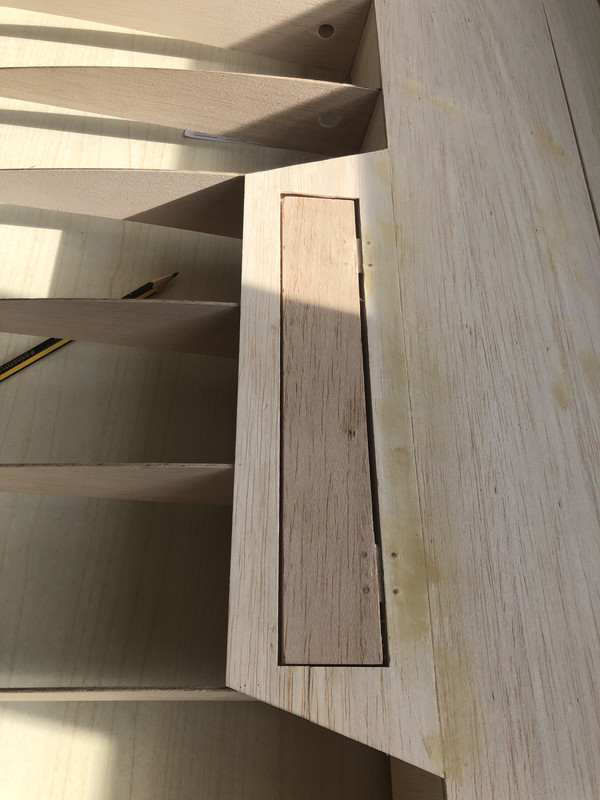
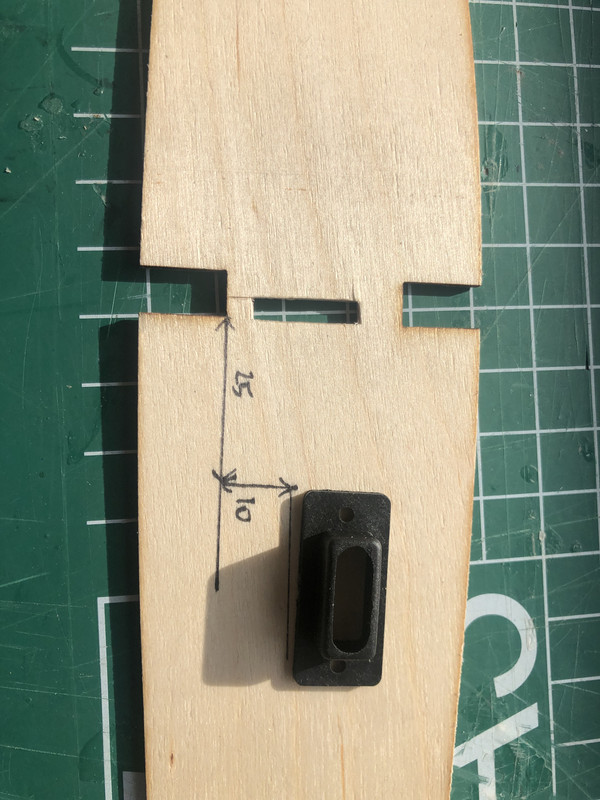
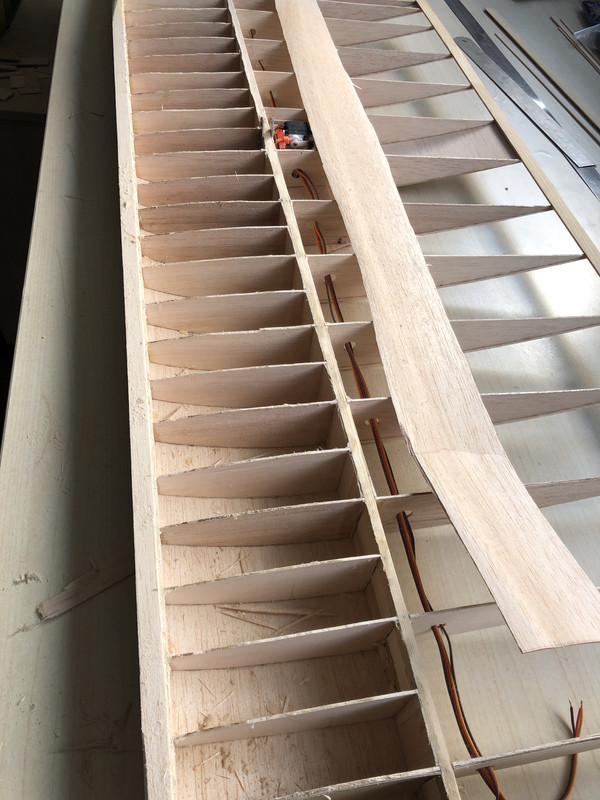
I started the right wing, skipping the first rib as per guidance. This to allow alignment of the joiner box later;
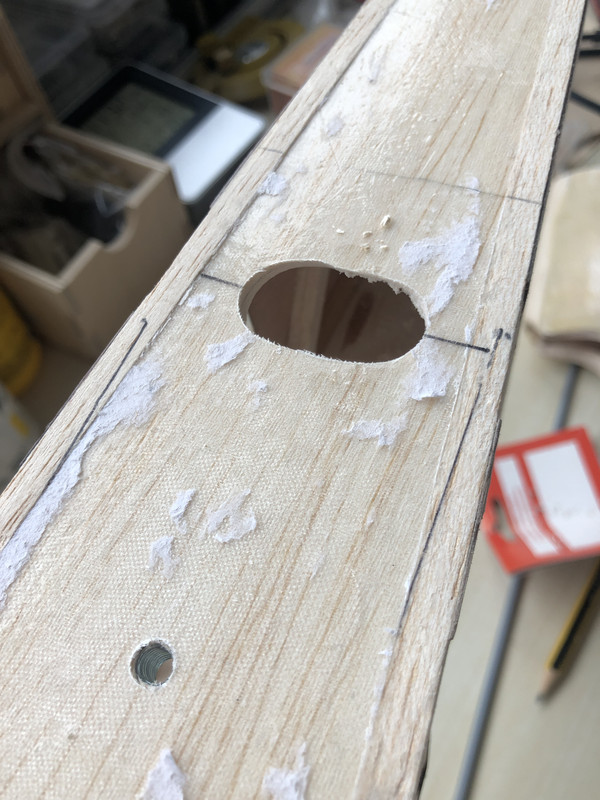
Good thing I did not start gluing straight away since I figured quit late i needed holes for wiring.

I experimented on how to make these holes the easiest and neatest. Seems it is close to impossible to dril bigger holes in balsa sheet. Since I did not have a hole puncher I made one out of heating pipe. This still was not perfect, so I put the copper selfmade puncher in a drill, and it worked out quit nice.
WIP:
Good thing I did not start gluing straight away since I figured quit late i needed holes for wiring.
I experimented on how to make these holes the easiest and neatest. Seems it is close to impossible to dril bigger holes in balsa sheet. Since I did not have a hole puncher I made one out of heating pipe. This still was not perfect, so I put the copper selfmade puncher in a drill, and it worked out quit nice.
WIP:
-
SedB
- Posts: 98
- Joined: 14 Nov 2019, 09:17
- Location: Netherlands
Re: 1/4 scale T-21 CW
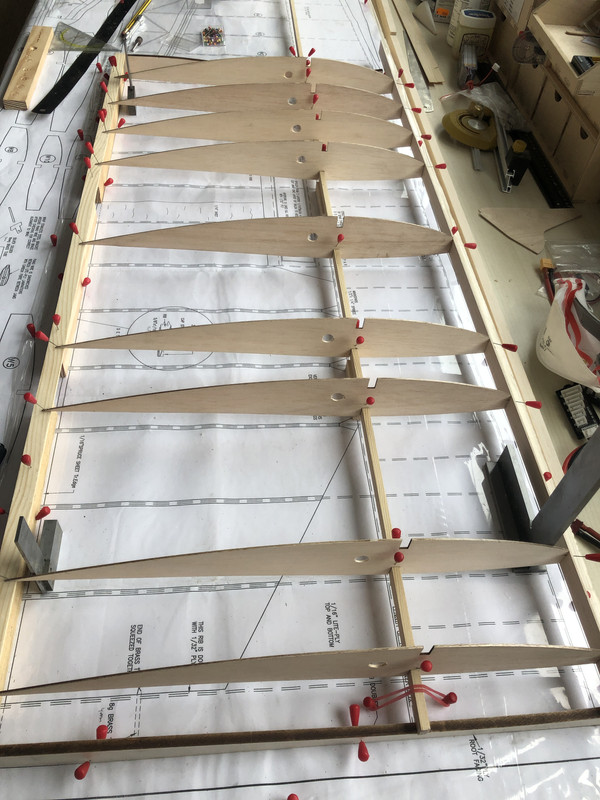
A bit of progress here:
Not sure on the easiest way to bend the sprue trailing edge of the aileron; I pipped it in my koi pond over night
It turned out to be flexible enough for bending the next day;
As per plan, the aileron is glued to the wing to allow sanding afterward;
Running short of construction material, I cut the leading edge out of a 25mm balsa plank. Guess I'll be doing some sanding later on
-
SedB
- Posts: 98
- Joined: 14 Nov 2019, 09:17
- Location: Netherlands
Re: 1/4 scale T-21 CW
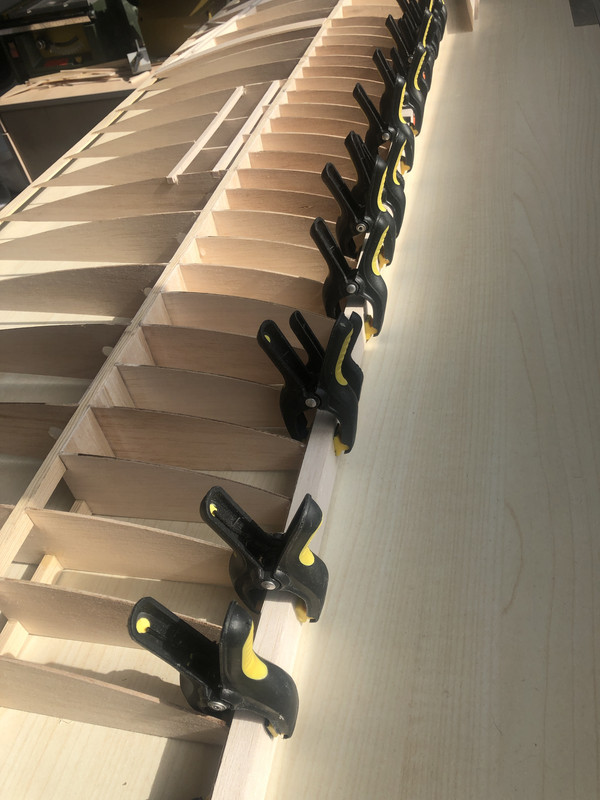
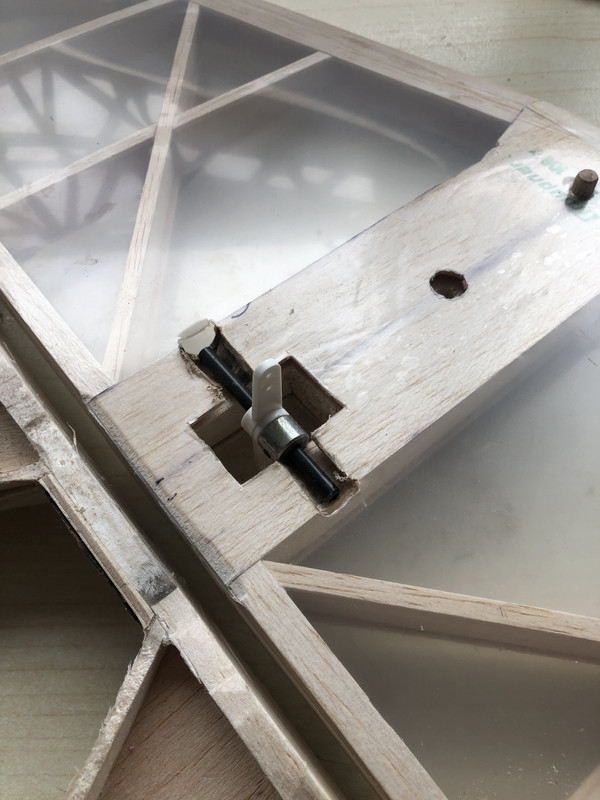
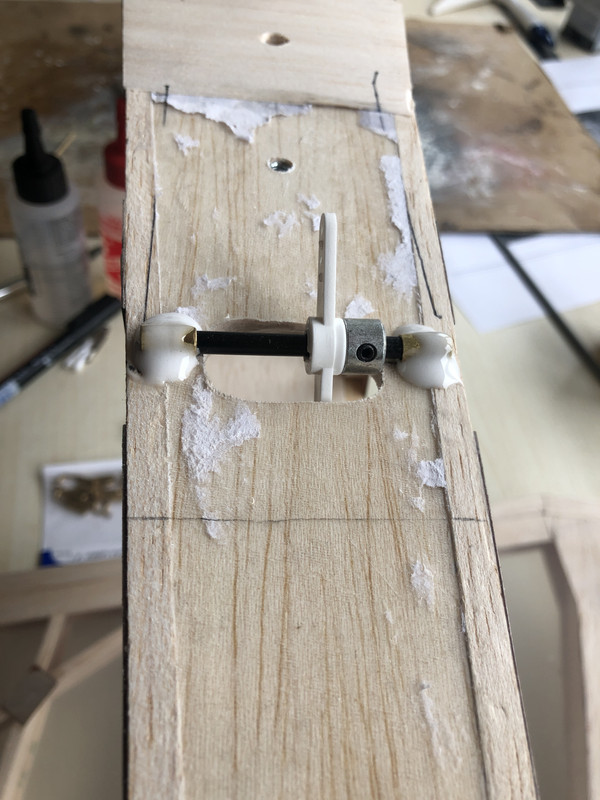
In time, before covering, I remembered (unlike I did with the fuselage) to drill holes for the wingstruts;
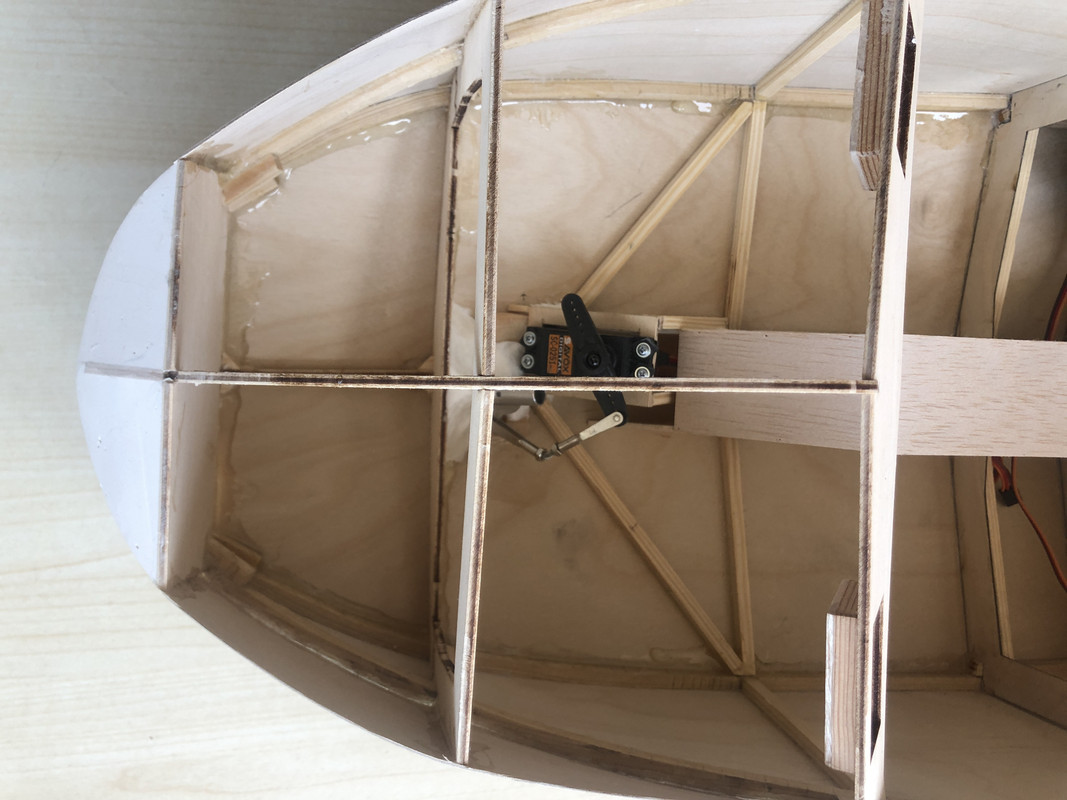
For the speed brakes I used simple HK servo's. It took a bit of testing to figure out thew wright momentum for the servo arm..
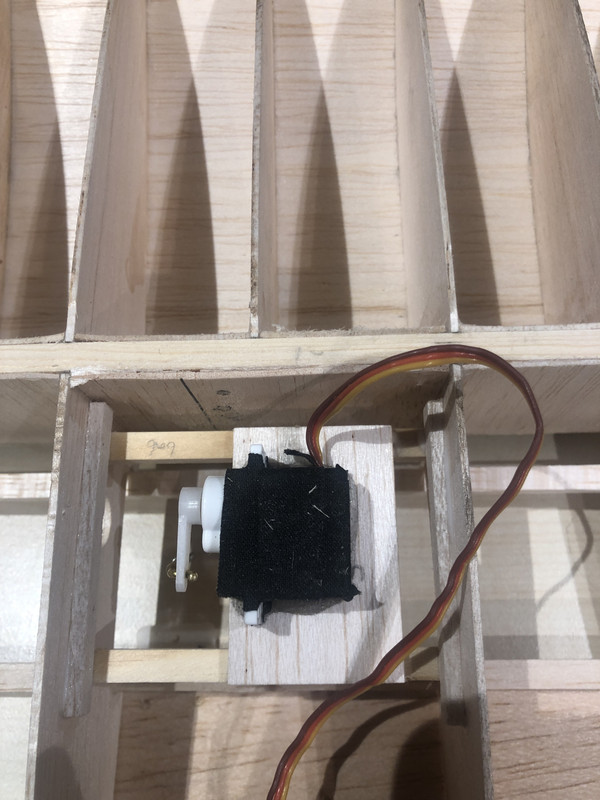
Covering of the wing with 1,5mm balsa sheet;

For the speed brakes I used simple HK servo's. It took a bit of testing to figure out thew wright momentum for the servo arm..
Covering of the wing with 1,5mm balsa sheet;
-
SedB
- Posts: 98
- Joined: 14 Nov 2019, 09:17
- Location: Netherlands
Re: 1/4 scale T-21 CW
Small in-between job was covering the tail bits:
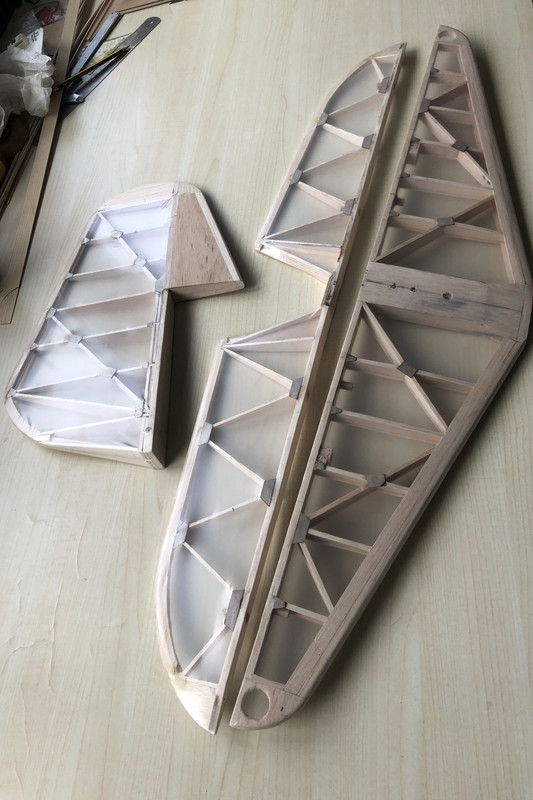
I keep them disassembled till after painting. Not sure how I will paint the glider and what paints I'll be using, but guess the paint job will be easier on the maneuverable parts if they are not glued to the glider.
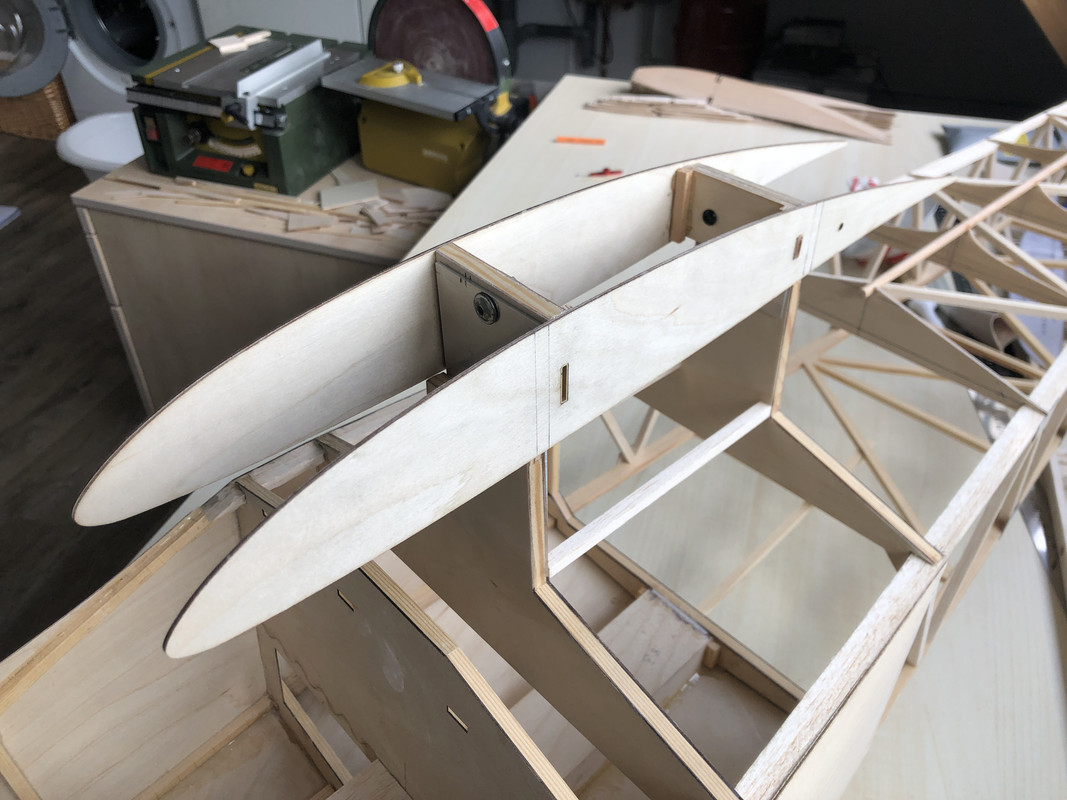
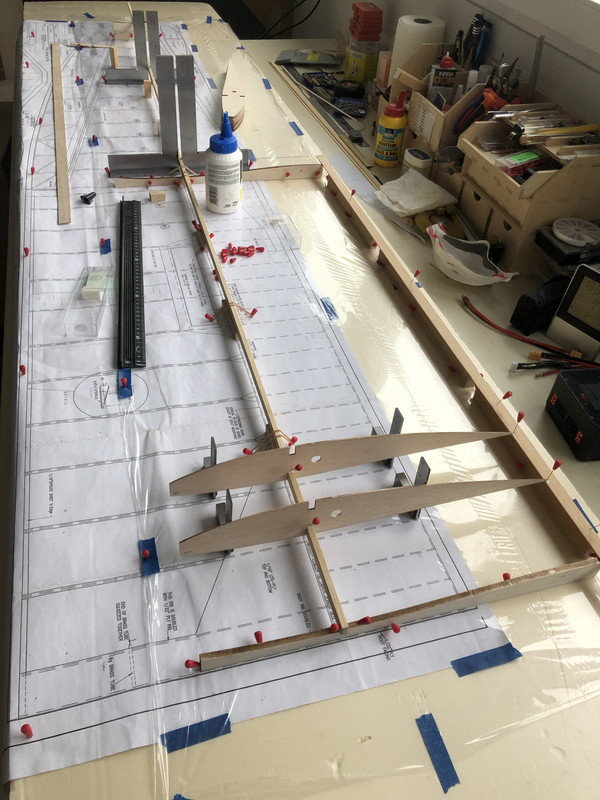
Then it was time to build the wing joiner box. Fear here was misalignment of the wings.

Some hardsoldering was done on the elevator:
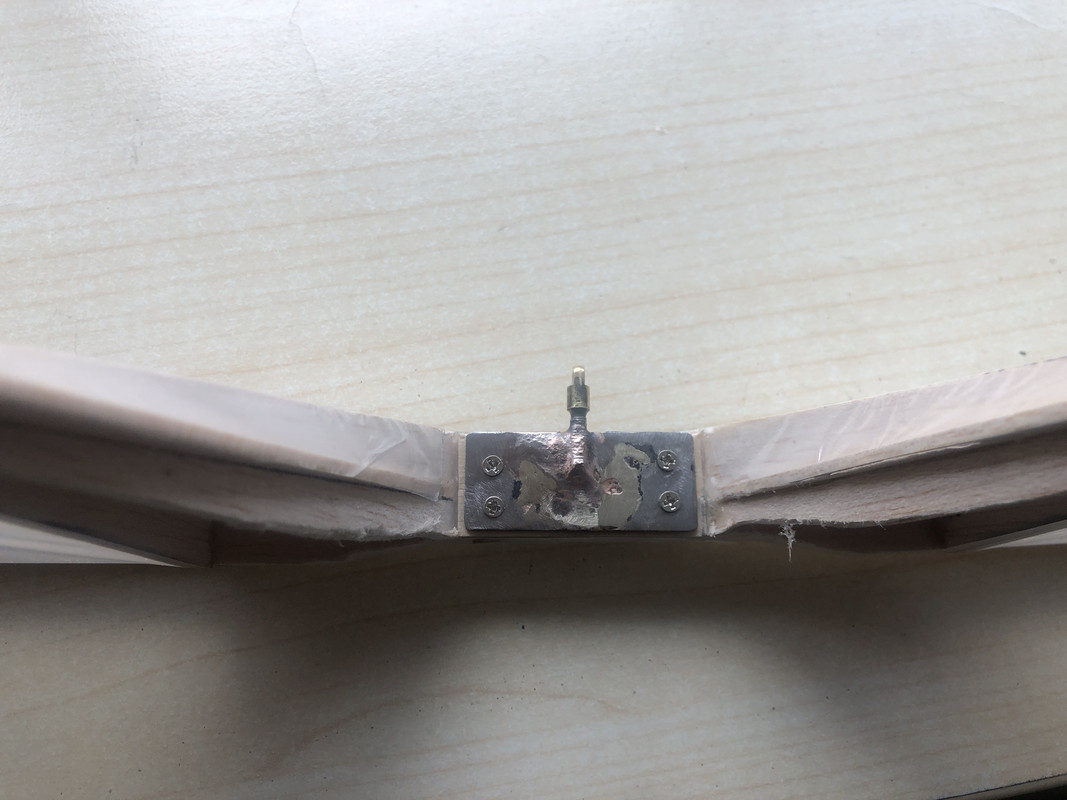
Since the elevator is quit wide it needs to be removable for transport. I thought screwing it on and of T-21 might wear out the balsa so I press coated the tail section with glassfiber.
That's it for now, time for an in-between project
I keep them disassembled till after painting. Not sure how I will paint the glider and what paints I'll be using, but guess the paint job will be easier on the maneuverable parts if they are not glued to the glider.
Then it was time to build the wing joiner box. Fear here was misalignment of the wings.
Some hardsoldering was done on the elevator:
Since the elevator is quit wide it needs to be removable for transport. I thought screwing it on and of T-21 might wear out the balsa so I press coated the tail section with glassfiber.
That's it for now, time for an in-between project
-
SedB
- Posts: 98
- Joined: 14 Nov 2019, 09:17
- Location: Netherlands
Re: 1/4 scale T-21 CW
Noting much special here, sheeting the wing root;
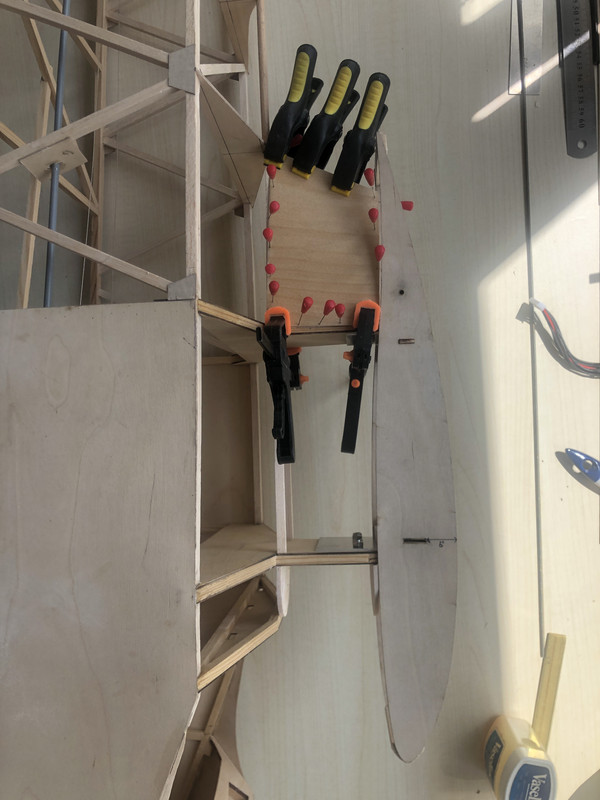
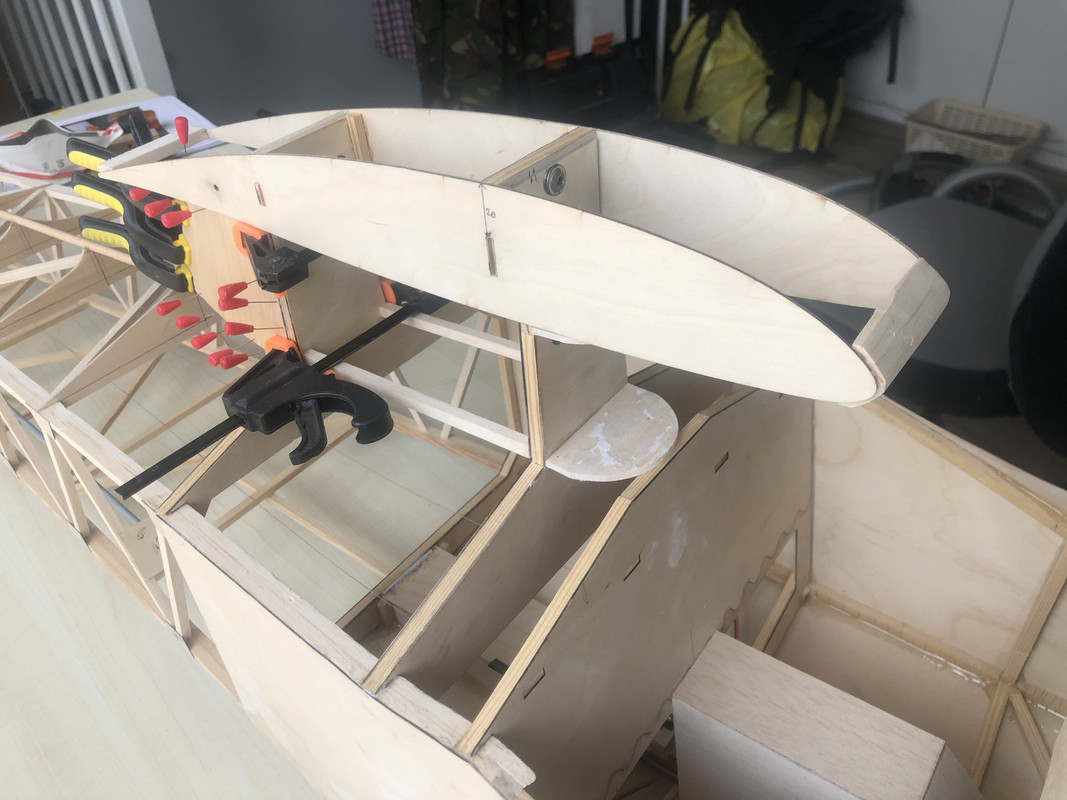
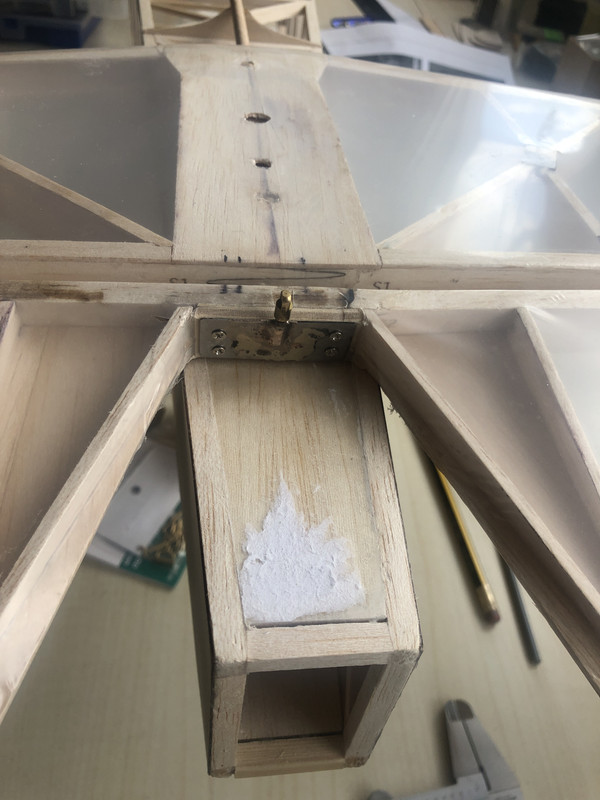
Maybe not the best or most beautiful solution, but this will be the way the elevator struts will be connected:
The wing might be to big for MPX connectors, will have to check..
At the moment I'm orientating on colors and paints.
I have figured that the correct RAF trainer colors are:
BS 381C-627 Light Aircraft grey (RAL850-2 or RAL7038)
BS 381C-537 Signal Red (RAL 450-5)
White
So far no problem. What I am stuck on at the moment is which paint to use. The majority of the Glider will be covered with Oratex which for as I've heard is relatively easy to paint.
I've been told that Epifanes Mono Uretane is a really good 1K paint, which should flow out very well. Though they have few colors and use their own color reference. Oracover has it's own paints which I might consider, but I'm open for any good recommendation !
I've been going through multiple build treads to see how other people paint their gliders, but most treads go from a bare frame to a covered glider and a painted glider in only 3 pics
Te fuselage on my glider will be half ply and half covered with foil. What I wonder is how to deal with the change in surface, going from film (aft) to the ply (front) part. Should I primer/basecoat both to make both surfaces more even? Should I slightly sand the transition from film to ply?
Any recommendations are more than welcome!!
-
SedB
- Posts: 98
- Joined: 14 Nov 2019, 09:17
- Location: Netherlands
Re: 1/4 scale T-21 CW
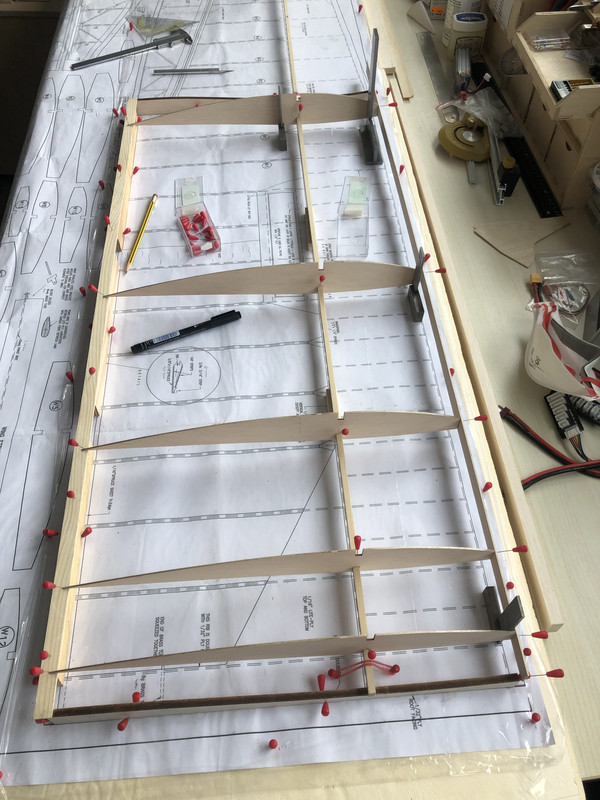
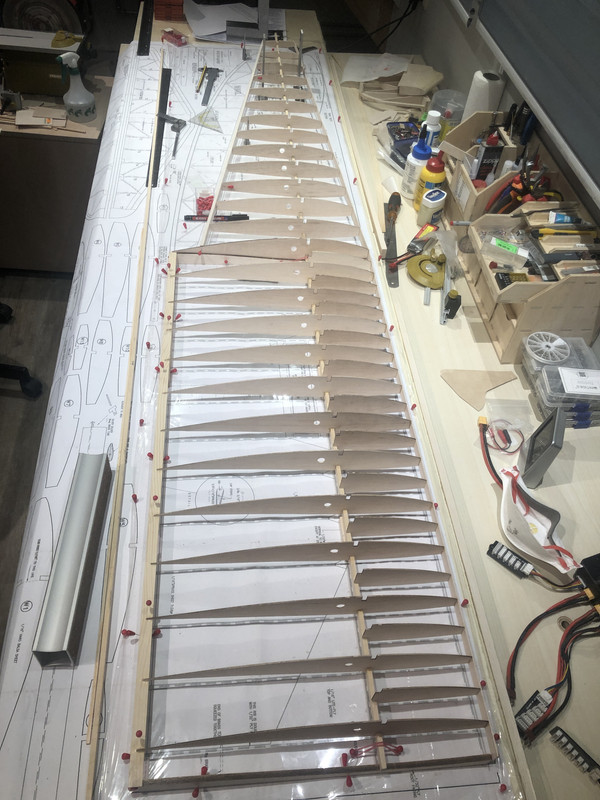
Fixing the inner wing rib and hoping for correct alignment
-
SedB
- Posts: 98
- Joined: 14 Nov 2019, 09:17
- Location: Netherlands
Re: 1/4 scale T-21 CW
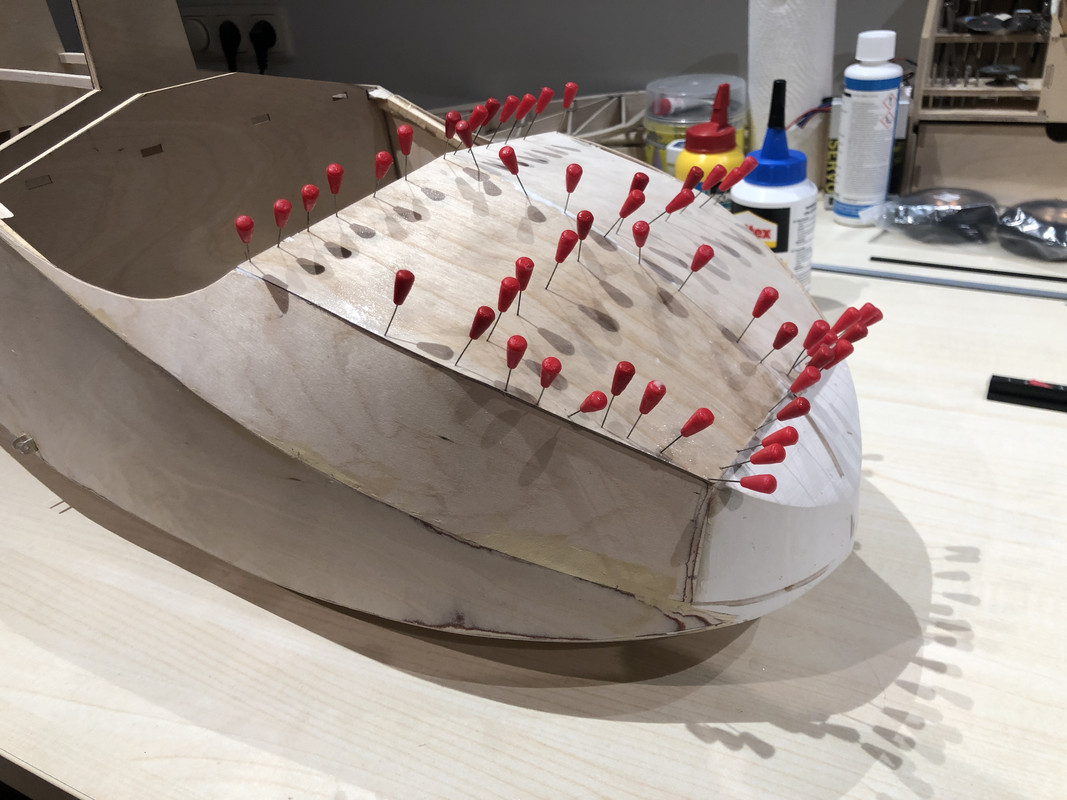
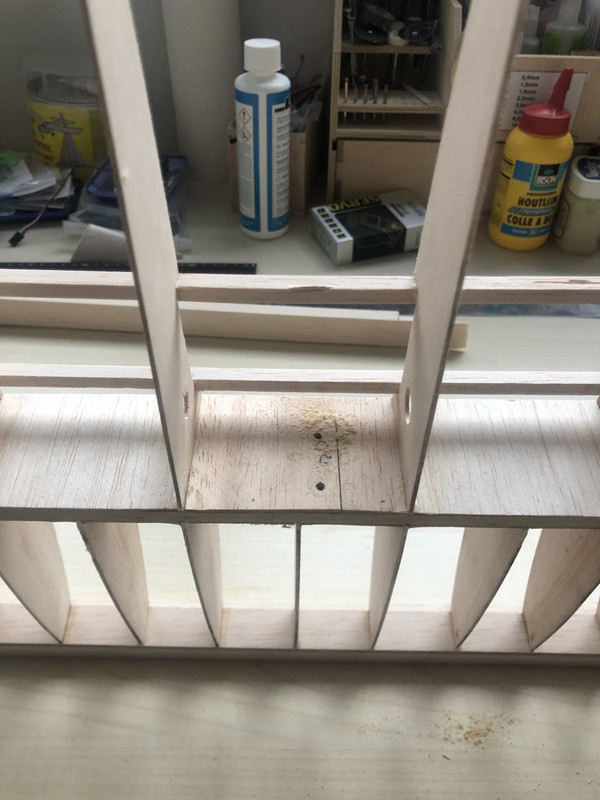
Not sure why I moistened the planking after I glued them, but for sure it was the last time 
All I could do was strip them and start over again..
A couple of pins were needed ti fit the new sheeting into position..
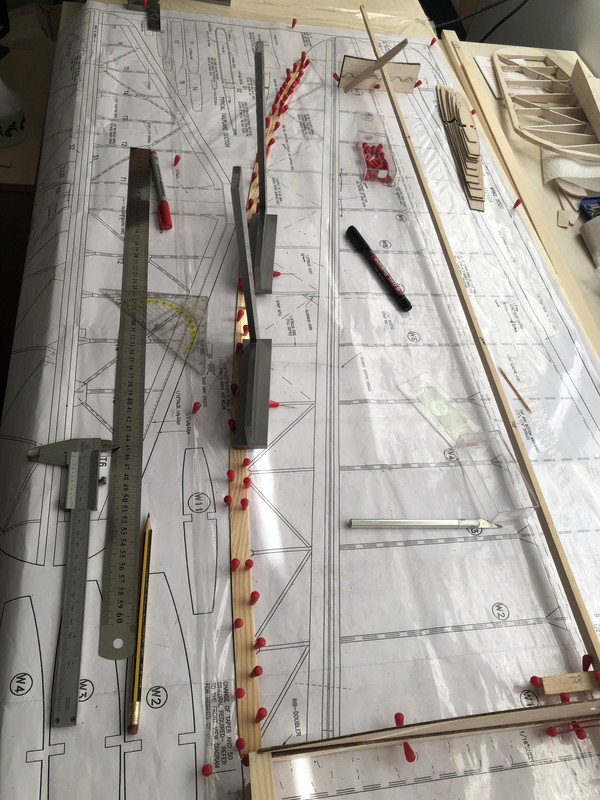
Now with this done and dry, it's time to start the alignment of the left wing. I tried to make a paper copy, but this came out just slightly to big and thus not usable. I did not want to oil the plan, nor use carbon paper. So, just mould the other way around on the same plan..
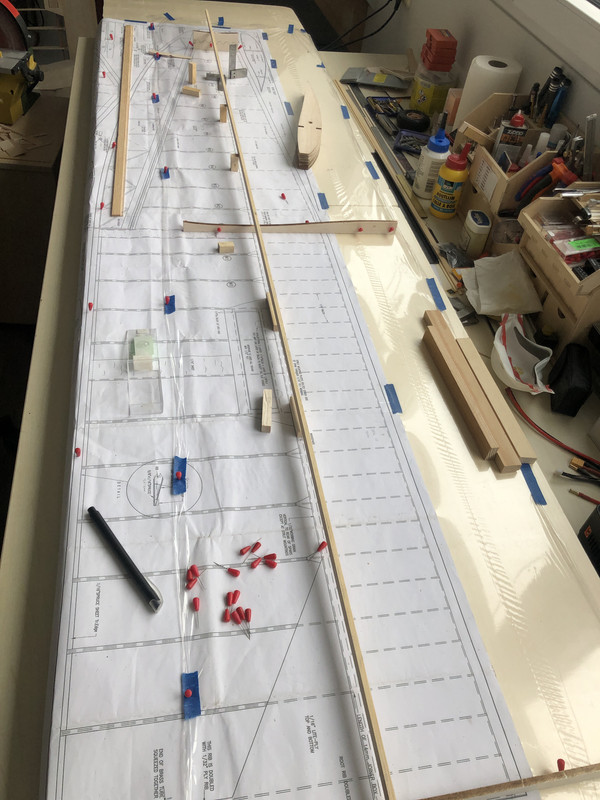
Some more aligning before using glue;
All I could do was strip them and start over again..
A couple of pins were needed ti fit the new sheeting into position..
Now with this done and dry, it's time to start the alignment of the left wing. I tried to make a paper copy, but this came out just slightly to big and thus not usable. I did not want to oil the plan, nor use carbon paper. So, just mould the other way around on the same plan..
Some more aligning before using glue;